

We’ve been sharing candle making tutorials on this blog for nearly a decade, so we wanted to put together this beginner’s guide to candle making with all our weightier tips and tricks, plus links to past projects you may want to try.
Making candles is an easy DIY project that anyone can do. It does require a few vital supplies, including a stovetop or something similar to melt the wax.
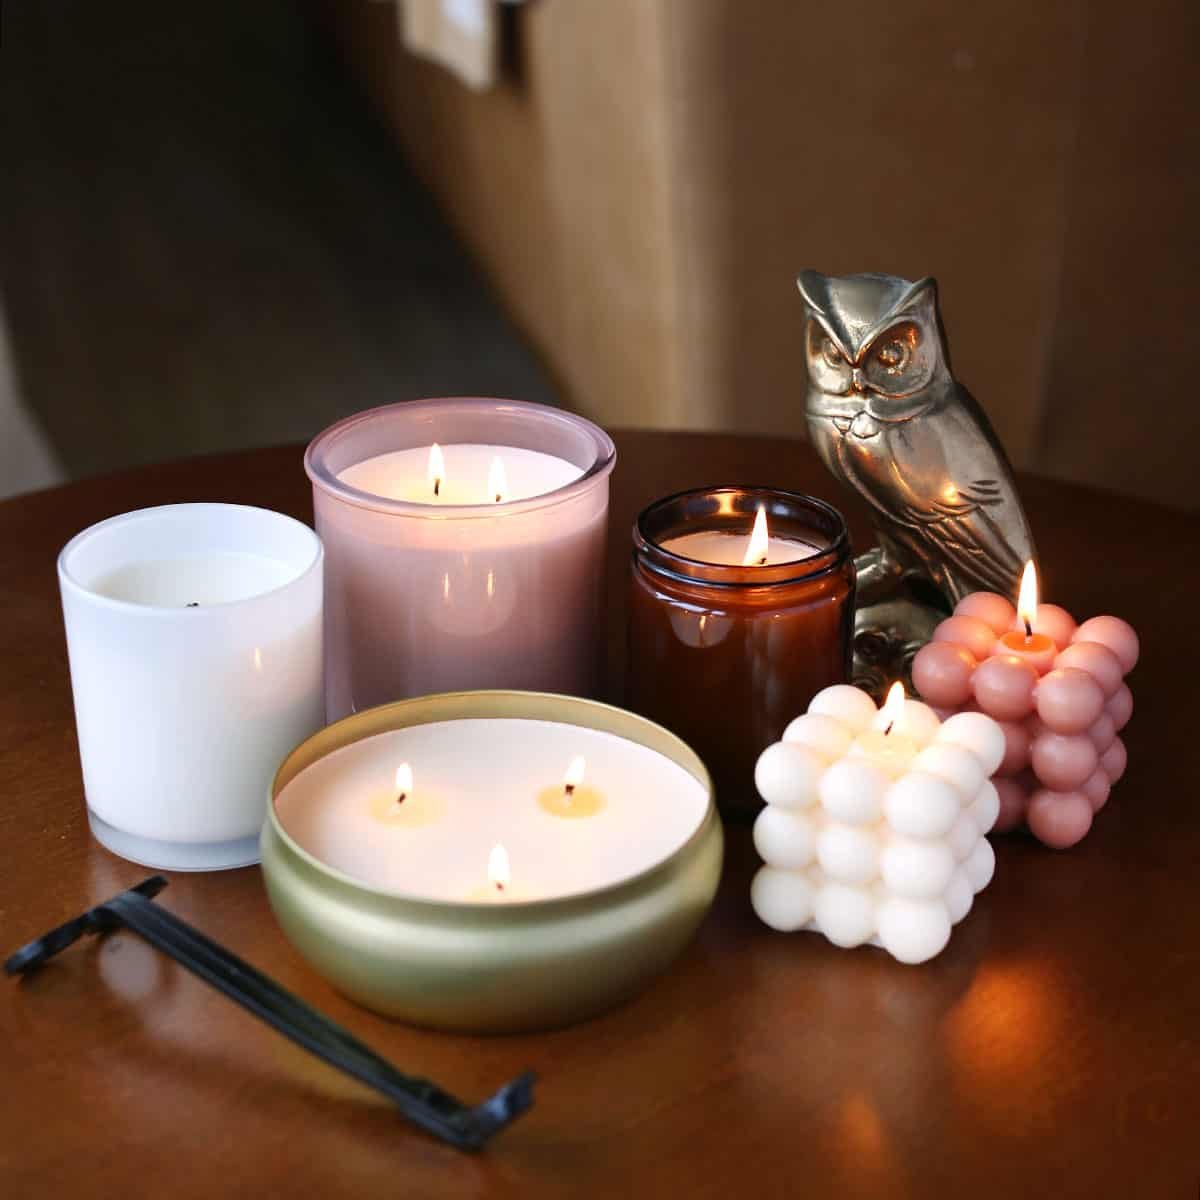
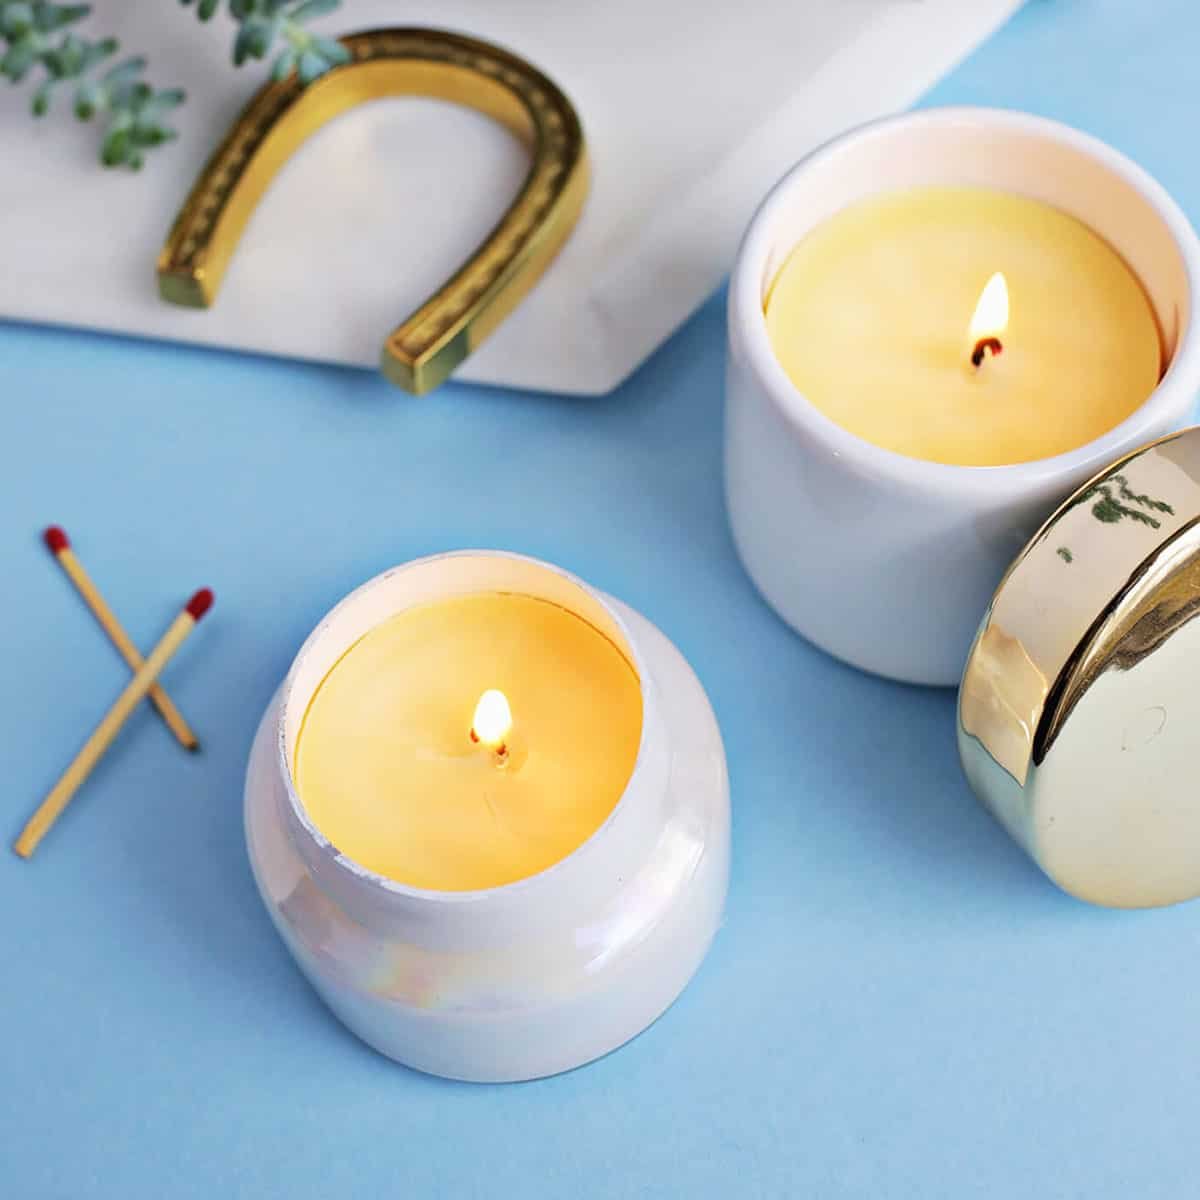
I love to make candles for myself, as I scrutinizingly unchangingly have a candle urgent in my kitchen every evening. I moreover love to requite homemade candles as gifts.
A DIY candle makes a unconfined housewarming gift, wedding gift, birthday, Mother’s Day, or holiday gift. Or at least I think so, as I LOVE candles!
Table of contents
Candle Making Supplies – Basics
- Wax – beeswax, soy, paraffin, palm, or gel
- Wick – ECO wicks, hemp, or wood (different sizes based on how thick your candle will be)
- Wick stickers or hot glue and glue gun
- Scent – essential oils or blends
- Containers/vessels
- Melting pot and larger pot – to create a double boiler
- Kitchen thermometer
- Measuring cups and spoons
- Mixing spoon
- Clothespin or other stick to hold wick in place (pencils, skewers, chopsticks, etc.)
- Candle wick trimmer or scissors
- Kitchen scale (optional but helpful)
How to Make a Candle – the Basics
- Measure out your wax. The easiest way to do this is to fill your container that will wilt your candle with the wax pellets. Then, use your kitchen scale to find the weight so you know how much scent oil to use.
- In your melting pot, add the wax.
- In your larger pot, add unbearable water so it will imbricate your melting pot at least halfway.
- Heat the larger pot with the water and melting pot over medium heat. This is substantially a double boiler, like you might use to melt chocolate. While you can melt the wax in the melting pot directly, using a double triviality ensures the wax doesn’t overheat.
- Heat the wax to 185°F. Use your thermometer to check.
- Stir in the scent oil so it gets well distributed.
- Turn off the heat and indulge your wax mixture to tomfool to 125°F surpassing pouring.
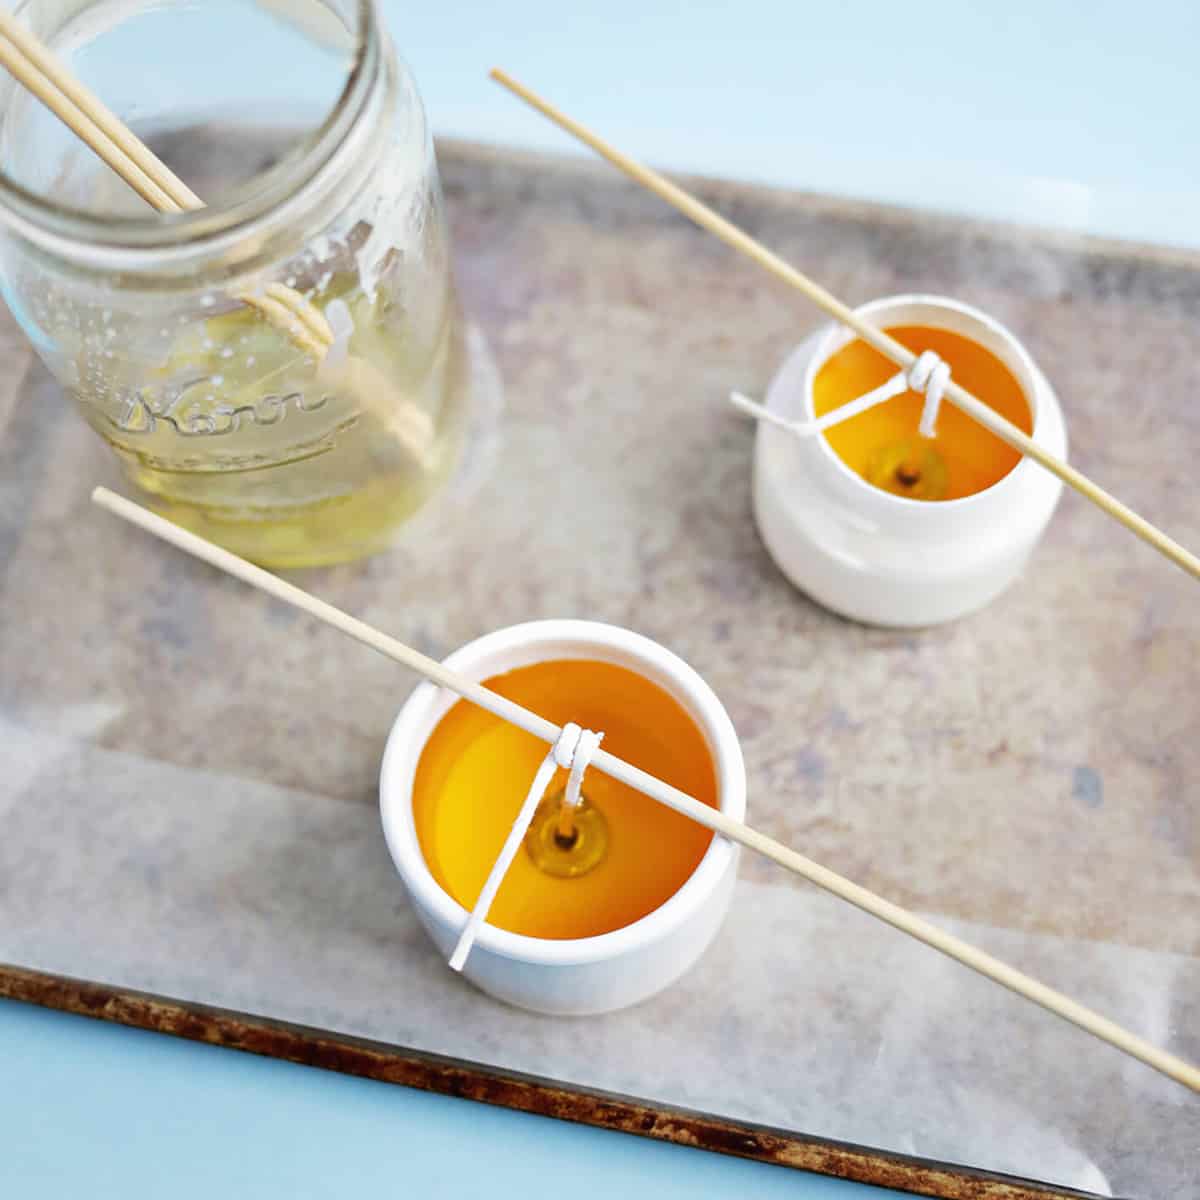
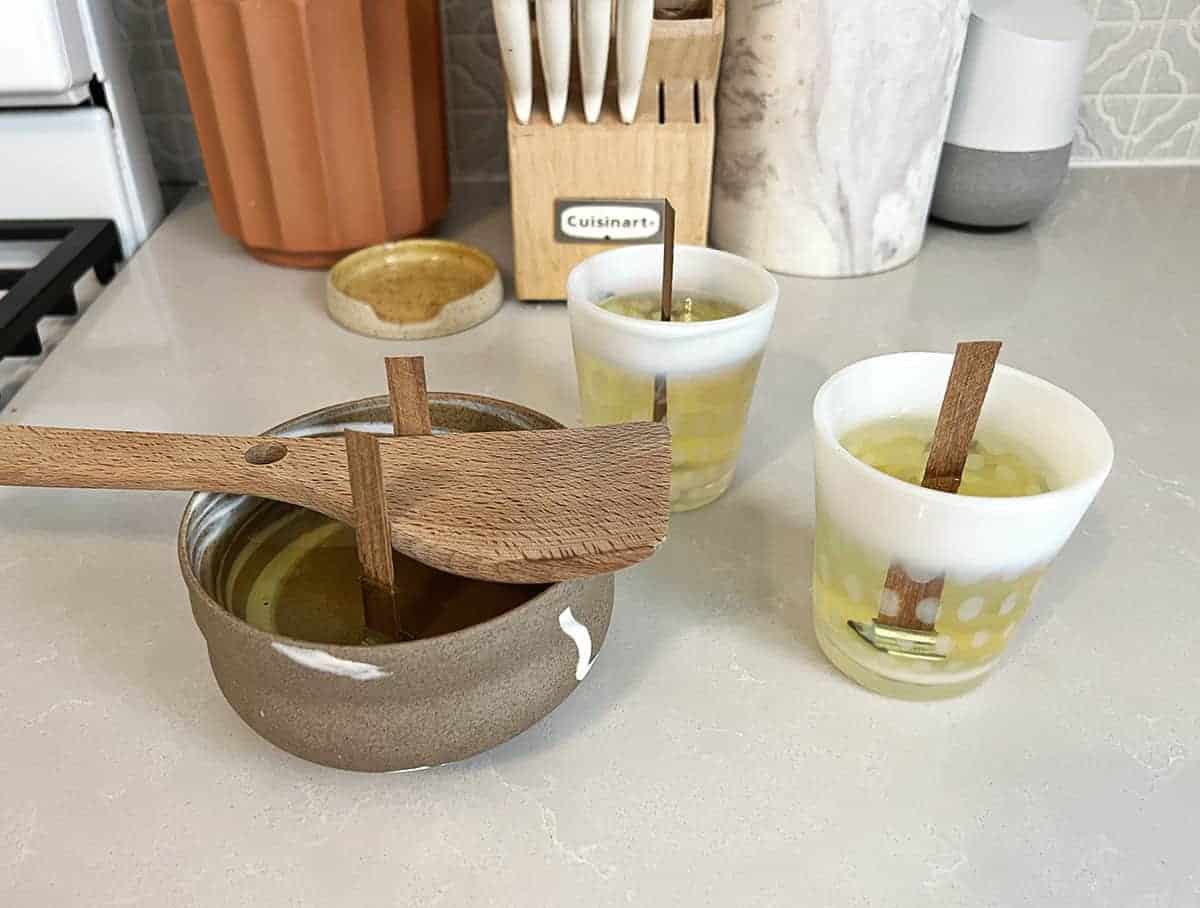
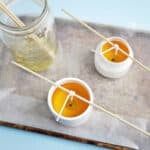
- While the wax melts (or as it cools off), add your wick to the container. Use a wick sticker or hot glue to stick the metal marrow of the wick to the marrow part-way of the container. Then, use a clothespin or stick to wrap the top of the wick virtually so it will stay part-way once you pour in the wax.
- Pour the wax into your container. If the wick shifts around, fix it while the wax is still hot and very liquid.
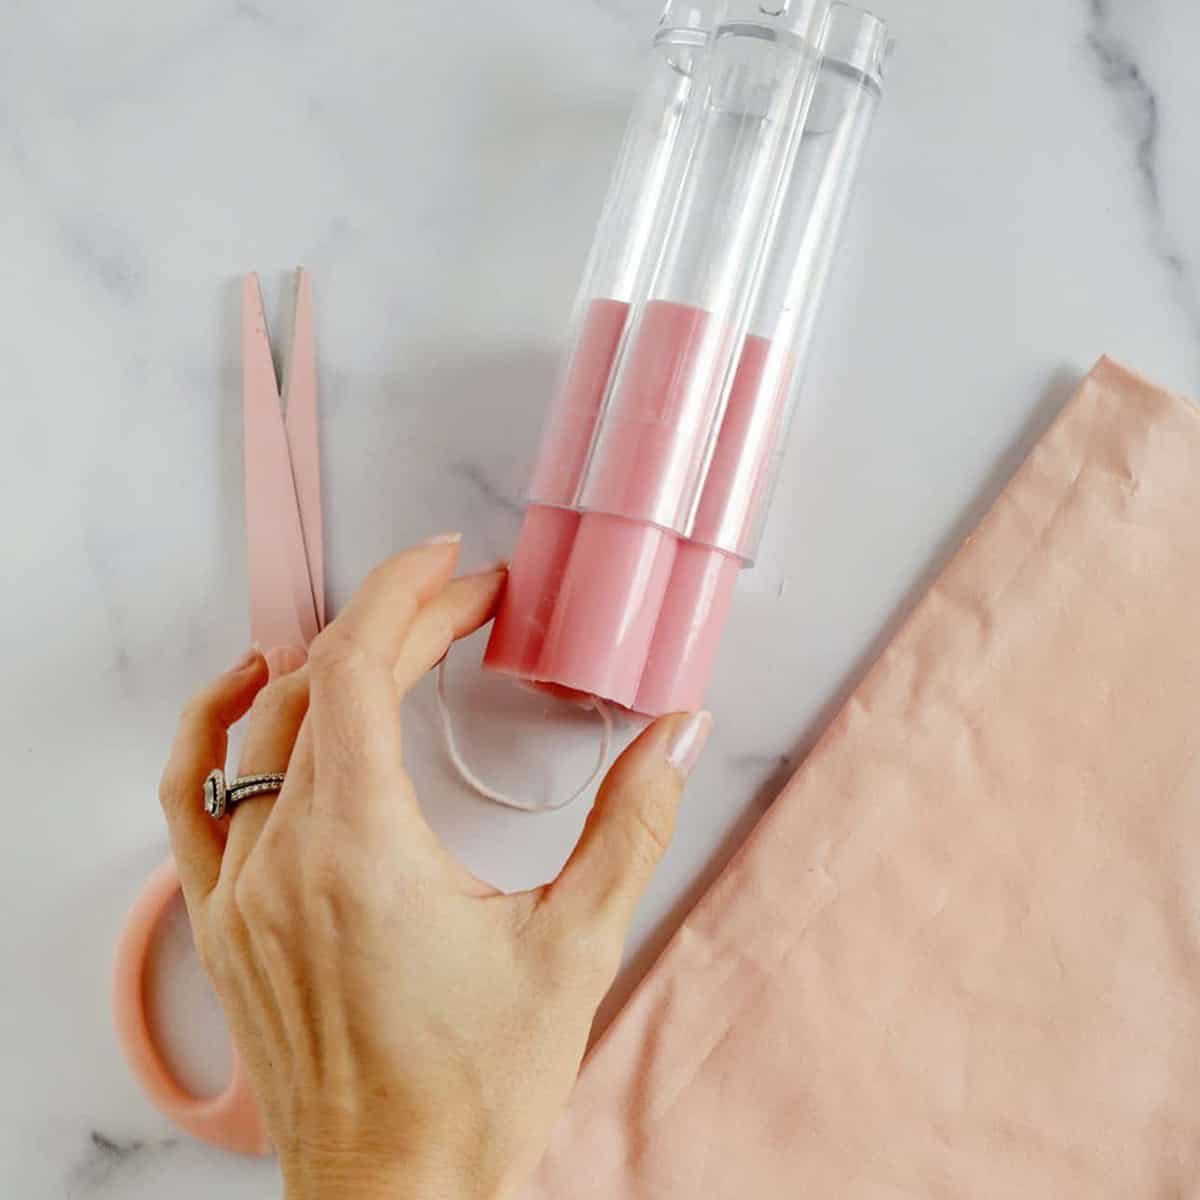
- Once your candle hardens, you’re ready to trim the wick and use it!
Types of Wax & Wicks
- Beeswax – natural, has a subtle sweet fragrance without subtracting oil, but can be increasingly expensive. See how to make your own bee’s wax candles.
- Soy wax – natural, but often a tousle so trammels the label. Usually increasingly affordable than beeswax. See how to make soy candles.
- Paraffin wax – most economical but the least natural of these options
- ECO wicks – made from cotton and paper
- Hemp wicks – made from hemp
- Wood wicks – trammels out DIY wood wick candles to learn more
While there are other types of waxes and wicks vastitude those listed above, these are likely what you will want to use as a beginner.
What is Scent Throw?
Scent throw is exactly what it sounds like; it is the radius virtually your candle where the scent will reach as it burns. There are four factors that stupefy scent throw:
- The type of wax
- Thickness of the wick
- Amount of scent oil used
- Temperature of the wax when you add the scent oil
While you may want to use variegated types of waxes for forfeit or health reasons, just know that often the hotter the melting point of the wax the smaller the scent throw will be.
As far as how much scent oil to add, you may think subtracting increasingly will unchangingly midpoint a larger scent throw. Not true. If you add too much oil, it can weigh lanugo in the wax.
You should aim for 1 ounce of scent oil for every 1 pound of wax (generally). This is why you may want to use a kitchen scale once you’ve measured how much wax will fit your container so you can weightier summate how much scent oil to use.
How to Make Molded Candles
Making a candle in a mold is a little variegated considering you will not need a container. You can reuse molds over and over if you superintendency for them. See this tutorial for a flower pillar candle DIY for step-by-step instructions and tips for success.
Here are some cute molds:
Where to Buy Containers:
- Used: thrift stores, cleaned out supplies containers like pickle jars, or other used glass or porcelain containers you may have. Do not use containers that can melt or reservation fire, like plastic.
- New: pretty pink glasses, colorful handblown glass, a footed planter
- See how to hands remove candle wax from used candle containers so you can reuse them again!
How to Make Candles: Beginner’s Guide
Equipment
- melting pot
- larger pot
- kitchen thermometer
- measuring cups and spoons
- mixing spoon
- clothespin or sticks or holding wick
- wick trimmer or scissors
- kitchen scale optional
Ingredients
- wax
- wick
- wick stickers or hot glue
- scent oil or blend
- container or mold
Instructions
- Measure out your wax – the easiest way to do this is to fill your container that will wilt your candle with the wax pellets. Then, use your kitchen scale to find the weight so you know how much scent oil to use.
- In your melting pot, add the wax.
- In your larger pot, add unbearable water so it will imbricate your melting pot at least halfway.
- Heat the larger pot with the water and melting pot over medium heat. This is substantially a double boiler, like you might use to melt chocolate. While you can melt the wax in the melting pot directly, using a double triviality ensures the wax doesn’t overheat.
- Heat the wax to 185°F. Use your thermometer to check.
- Stir in the scent oil so it gets well distributed.
- Turn off the heat and indulge your wax mixture to tomfool to 125°F surpassing pouring.
- While the wax melts (or as it cools off), add your wick to the container. Use a wick sticker or hot glue to stick the metal marrow of the wick to the marrow part-way of the container. Then, use a clothespin or stick to wrap the top of the wick virtually so it will stay part-way once you pour in the wax.
- Pour the wax into your container. If the wick shifts around, fix it while the wax is still hot and very liquid.
- Once your candle hardens, you’re ready to trim the wick and use it!


