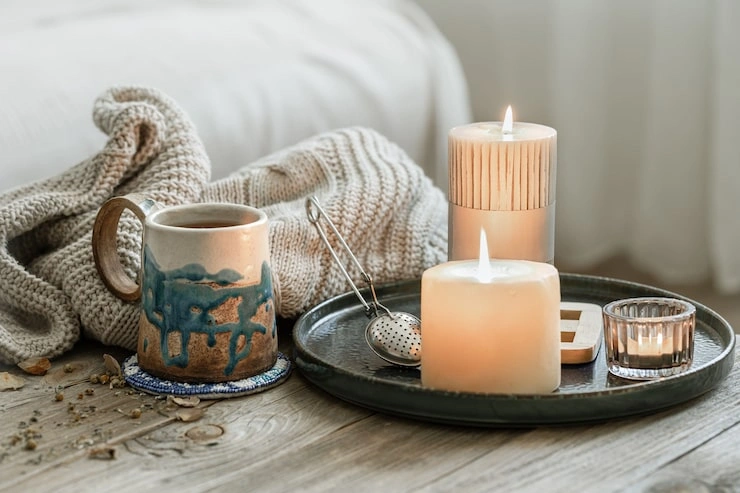
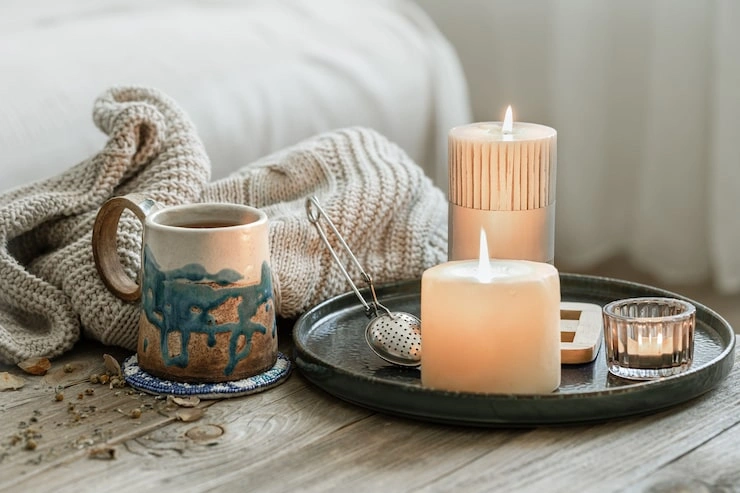
Many people love candles. They give soft light and good smell. But shop candles cost a lot. Also many shop candles use paraffin wax. Paraffin wax comes from petrol. That is not good for air. That is not good for health.
So what is the answer? You make candles at home. With soy wax. Soy wax is safe. Soy wax is natural. Soy wax is also cheap. And making candles with soy wax is easy. Even for a person who has never made a candle before.
This article is for complete beginners. I will tell you every small thing. What items you need. How to melt wax. How to put wick. How to add smell. How to pour wax. How to fix mistakes. You will not find any hard English word here. No fancy terms. Just pure and homemade candles with soy wax beginners.
Let us start.
Why Soy Wax is Best for Beginners?
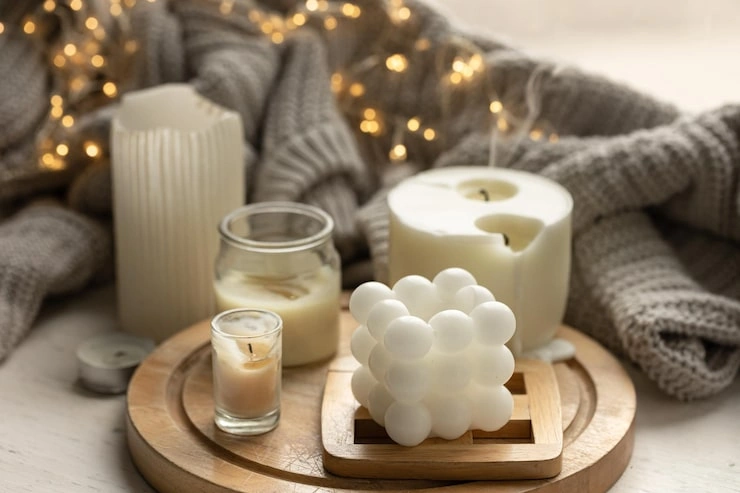
Many people ask me – why soy wax? Why not other wax?
Here is the simple answer.
- First, soy wax is made from soybean oil. Soybean is a plant. So this wax is natural. It is not made from petrol like paraffin wax. When you burn soy wax candle, you do not get black smoke. Your walls and ceiling stay clean.
- Second, soy wax melts at low heat. Other wax needs very high heat. High heat can burn you. High heat is risky at home. But soy wax melts around 45 to 50 degree Celsius. That is like hot tea temperature. Safe for home.
- Third, soy wax cleans easily. If you spill wax on table or vessel, just wash with hot water and soap. No hard scrapping.
- Fourth, soy wax holds smell very well. Your candle will give good fragrance for long time.
- Fifth, soy wax burns slowly. One soy wax candle lasts almost fifty percent more than paraffin candle. So you save money.
- For a beginner, these five reasons are enough. Soy wax is safe, cheap, easy, and good for nature.
You May Also Like: Easy Homemade Items You Can Make at Home
Items You Need to Make Homemade Candles With Soy Wax
Do not get scared. You do not need costly machines. Most items are already in your kitchen. Some items you can buy from local shop or online. Let me give a simple list.
1. Soy Wax Flakes
Buy soy wax in flake form. Flakes melt faster than big block. For beginners, buy one kilogram pack. That makes four to five medium size candles.
2. Candle Wicks
Wick is the thread that burns. Buy cotton wick. Not metal wick. For soy wax, buy wick size that matches your glass or tin. For small glass (5 cm wide), buy small wick. For bigger jar (7-8 cm wide), buy bigger wick. Do not guess. Shop people will help.
3. Wick Holder
This is a small metal or wood piece. It holds wick straight when wax is liquid. You can also use a pencil or a bamboo stick. Place pencil on top of glass. Tie wick on pencil. That works too.
4. Melting Pot
You need a pot to melt wax. Use a cheap steel pot. Do not use your good kitchen pot. Wax leaves some layer. Keep one pot only for candle making.
5. Double Boiler
You do not need a special machine. Just take a big pan. Fill with water. Keep the melting pot inside this water. Heat the pan. Water heats. Water heats the pot. Pot melts wax. This is called double boiler method. Very safe. Wax never catches fire.
6. Glass or Tin Containers
Old jam jars. Small katori shaped glass. Empty tea light cups. Any glass that can take heat. Wash and dry them well. Do not use plastic. Plastic can melt.
7. Thermometer
A kitchen thermometer helps. You need to know wax temperature. But if you do not have thermometer, do not worry. I will give a finger test later.
8. Fragrance Oil
Buy fragrance oil made for candles. Do not use perfume or room freshner. They have water and alcohol. Water and wax do not mix. For beginners, buy lavender, rose, or sandalwood smell. These are easy.
9. Stirring Stick
A wood stick or steel spoon. Use this to mix smell in wax.
10. Old Newspaper
Spread on table. Wax spills happen. Newspaper saves your table.
That is all. No machine. No pressure. No big cost.
Step by Step Process to Make Homemade Candles With Soy Wax
Now the real work begins. Read each step carefully. Do not jump. Do not hurry. Candle making needs calm mind.
Step 1 – Prepare Your Container
Take your glass or tin. Wash with soap. Dry completely. Not one drop of water. Water inside candle is dangerous. It can make wax crack. It can make candle pop while burning.
Take wick. Put a small drop of melted wax or glue at bottom of wick. Stick this on center of glass bottom. Hold for ten seconds. Wick should stand straight.
Now take your wick holder or pencil. Place on top of glass. Tie the wick top to this holder. Wick should be tight but not too tight. Just straight.
Keep this glass aside.
Step 2 – Measure Wax
How much wax you need? Simple method. Fill your glass with dry rice. Note how much rice fits. Then remove rice. That same amount of wax flakes you need. Because wax and rice take same space.
For one small jam glass, take about 150 gram wax flakes.
Keep extra wax. Some wax stays on pot and spoon.
Step 3 – Melt the Wax
- Take your big pan. Put two glass of water. Keep on low flame.
- Put your melting pot inside pan. Make sure water does not enter pot.
- Put wax flakes in melting pot.
- Let water heat slowly. Do not put high flame. Low to medium flame is fine.
- Wax will start melting. Stir sometimes with your stick. Full melting takes ten to fifteen minutes.
No thermometer? Do this. When all wax becomes liquid, touch the pot side carefully. It should be warm but not burning hot. If you can keep finger on pot for two seconds, temperature is right. That is around 50 degree. If you have thermometer, heat wax until 80 degree. Then let it cool to 65 degree before adding smell. But if no thermometer, just follow the finger test. Remove from heat. Wait three minutes. Then add smell.
Step 4 – Add Fragrance
This is important step. Many beginners add too much smell. That is bad. Candle will not burn properly. Or smell will be too strong.
Rule – for one hundred gram wax, add five to eight gram fragrance oil. That means for 200 gram wax, add ten to sixteen gram oil.
Remove wax pot from heat. Wait three to four minutes. Then add fragrance oil. Stir gently for two minutes. Stir slowly. Fast stirring makes air bubbles. Air bubbles spoil candle surface.
Smell the wax. Does it smell good? Then stop. Do not add more.
Step 5 – Pour the Wax
Now take your glass with wick. Keep on flat table. Pour the wax slowly. Do not dump. Pour in one soft flow.
Leave some space on top. About one finger gap from top edge.
You will see some small bubbles on surface. Do not worry. They will go away.
Step 6 – Let It Set
Do not move the glass. Do not cover. Do not put in fridge.
Keep at room temperature. Let it sit for six hours. Best is to keep overnight. Twelve hours is even better.
After one hour, you will see a small dip around the wick. That is normal. Soy wax does that.
Step 7 – Trim the Wick
Next morning, your candle is ready. But wick is long. Take a scissor. Cut wick leaving only five millimeter above wax. If wick is long, flame will be big and smoky. Five mm gives clean flame.
Step 8 – Test the Candle
Light your candle. Let it burn for two to three hours first time. This makes a full melt pool. Melt pool is liquid wax on top. When whole top is liquid, wick remembers this shape. Next burns will be even.
Do not burn more than four hours at one time.
You May Also Like: Paper Plate Bloodshot Eyeball Halloween Decoration
Common Mistakes Beginners Make and How to Fix
Do not feel bad if your first candle is not perfect. Even I made mistakes. Let me tell common mistakes and homemade candles with soy wax beginners.
Mistake 1 – Candle Surface has White Marks or Cracks
This happens when you pour wax at very high heat. Or room is too cold.
Fix – Next time let wax cool more before pouring. And make candle in warm room.
Mistake 2 – Candle Flame is Too Small
Wick is too small for your glass width.
Fix – Use next size bigger wick.
Mistake 3 – Flame is Too Big and Smoky
Wick is too big. Or you did not trim wick.
Fix – Trim wick to five mm. If still smoky, use smaller wick next time.
Mistake 4 – Candle Does Not Smell When Burning
You added fragrance at very high heat. Smell evaporated before mixing.
Fix – Let wax cool to 65 degree then add smell. Also use good quality fragrance oil made for candles.
Mistake 5 – Wax Tunnels (Only middle melts, sides stay solid)
You did not let first burn go long enough. First burn must make full melt pool.
Fix – On first use, burn candle until whole top is liquid. This takes two to three hours.
Safety Tips for Making Homemade Candles With Soy Wax
These tips are not fancy. They are for your home safety. Please read.
- Never leave melting wax alone. Stay in kitchen.
- Keep children and pets away when making candles.
- Do not add water to hot wax. Wax will spit and burn you.
- If wax catches fire, do not throw water. Use wet cloth or baking soda.
- Keep a fire blanket or big wet towel near you.
- Do not use plastic bowls or spoons. Only steel or glass.
- Do not pour leftover wax in sink. It will block pipes. Pour in old newspaper and throw.
- Do not put candle making pot in dishwasher. Wax layer stays. Wash by hand with hot water and soap.
Frequently Asked Questions
Can I use normal cooking pot for melting wax?
Yes but keep that pot only for wax. Do not cook food in same pot.
How much time does soy wax candle last?
For 150 gram soy wax candle, burn time is 25 to 30 hours. More if wick is correct.
Can I add dry flowers or herbs in candle?
Better not. Dry things can catch fire. If you want, put them only on outer side of glass. Not inside wax.
My candle has small drops of water on top. Is that bad?
Yes. Water came from wet container or wet spoon. That candle is not safe. Do not burn. Remelt wax carefully and dry everything before repouring.
Which smell is best for beginners?
Lavender is easiest. Sandalwood is also good. Stay away from citrus smells at first. They are harder to mix.
Can I use candle color?
Yes. Buy candle dye. Add tiny amount when wax is liquid. Start with half drop. Too much color can block wick.
How to Store Your Homemade Soy Wax Candles?
- Store candles in cool and dry place. Keep away from sunlight. Sunlight makes smell go away. Also wax can change color.
- Do not store in fridge. Fridge makes moisture. Moisture is bad for candle.
- Keep candles covered when not using. Dust on wax changes burn quality.
- A simple paper cover or cloth cover is enough.
Conclusion
I have told you everything. Items list. Step by step method. Common mistakes. Safety tips. Now it is your turn. Start small. Make one candle first. Do not buy big pack of supplies. Buy small amount of soy wax. One wick. One small bottle of smell. One jam glass. After first candle, you will feel proud. You made something with your own hands. That feeling is better than any shop candle. And once you learn, you can make candles for Diwali gifts. For house warming gifts. For your own home. For your Pooja room. Even sell online if you want. Soy wax candle making is not hard. It is not costly. It is not dangerous if you follow safety. So go ahead. Buy your soy wax today. Make your first candle tomorrow. Light it in evening. See the soft flame. Smell the gentle fragrance. And smile.