I save my toilet paper rolls. My husband thinks I am crazy. He says I look like a hoarder. But when October comes around, he stops saying that. Because we have everything we need to make Halloween decorations. And we do not spend any money.
Let me tell you something. These rolls are perfect for crafts. They are the right size. They are sturdy. And they are free. You cannot beat free. My kids are 6 and 9. They both love making things with these rolls. The 6 year old needs more help. The 9 year old does everything on her own. But they both have fun. That is what matters.
Getting Your Rolls Ready
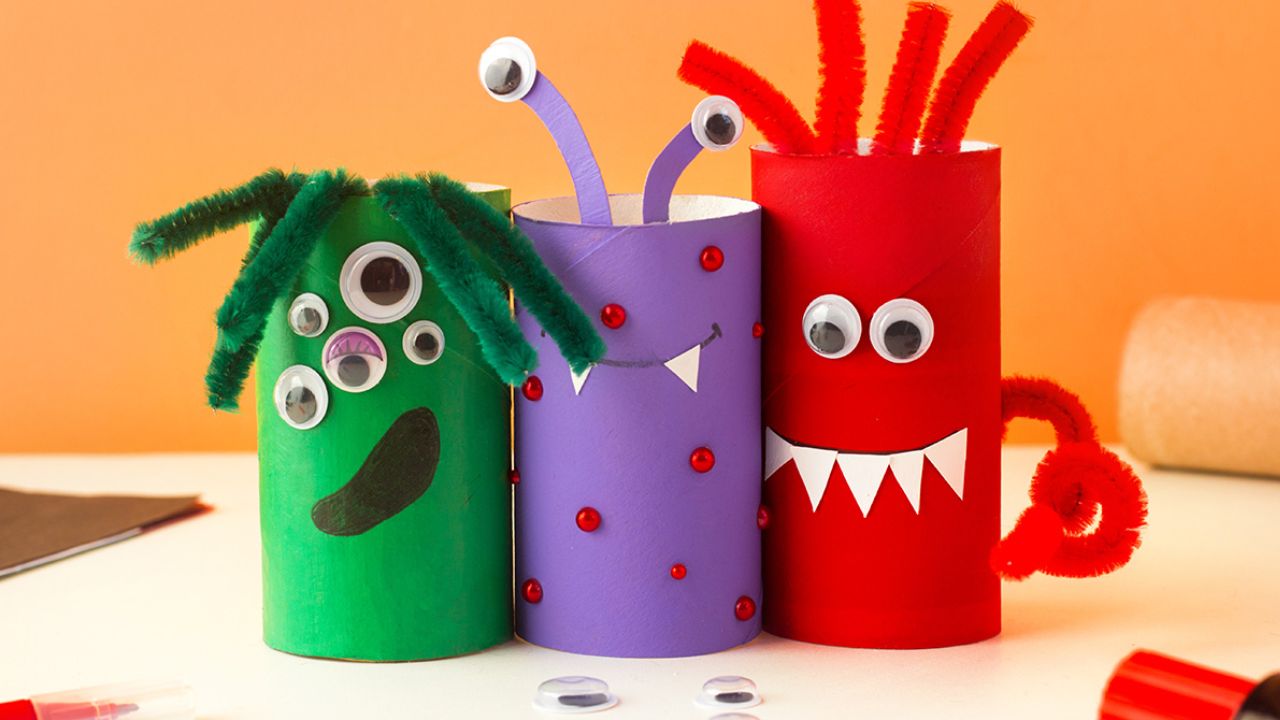
You need to save up your rolls. Start now. Put them in a bag. Keep the bag in your closet or under the sink. Do not flatten them too much. Keep them round. When you are ready to craft, check the rolls. Make sure they are dry. If they have fuzzies on them, pull them off. You can leave them alone if you want. It does not really matter.
Some people paint the rolls first. Others cover them with paper. I paint them. It is faster. My kids like painting. They make a mess. But that is part of the fun.
Read Also: Best Christmas Holiday Destinations for Families
What You Need?
You probably have most of this stuff at home.
- Empty toilet paper rolls. Save at least 10.
- Paint. Get the cheap craft paint. Acrylic works best.
- Paint brushes. Old ones are fine.
- Glue. A glue stick works for paper. Tacky glue is better. A glue gun is best, but an adult has to use it.
- Scissors. Kids need the safe ones.
- Googly eyes. These make everything look better.
- Black and orange paper. Construction paper is good.
- Markers. A black Sharpie is a must.
That is it. You do not need fancy things. You do not need to go to the craft store.
The Bat
Bats are the easiest. I always start with bats. Paint the roll black. Wait for it to dry. This takes about 20 minutes. Do not rush it.
While the paint dries, cut out wings. Use black paper. Fold the paper in half. Cut one wing shape. Unfold it. Now you have two wings that match. Glue the wings to the back of the roll. Now fold the top of the roll down. Pinch it so it makes two little points. Those are the ears. Glue on googly eyes. Draw a tiny mouth. Use a white pen or a little bit of white paint. That is it. A bat. It takes 5 minutes. My kids make a whole family of them. We hang them from the ceiling with string. They look awesome.
The Mummy
Mummies are my second favorite. They are so simple. Take a roll. Glue two googly eyes right in the middle. Not at the top. In the middle. This makes the mummy look a little confused. It is funny. Now cut white paper into strips. They do not have to be straight. In fact, crooked strips look better. They look like real bandages. Glue the strips around the roll. Go around and around. Leave the eyes uncovered. Leave some gaps between the strips. You want to see the cardboard underneath. That is it. You are done. A mummy. My son made one last year. He put it on his nightstand. He said it protected him from monsters. I thought that was cute.
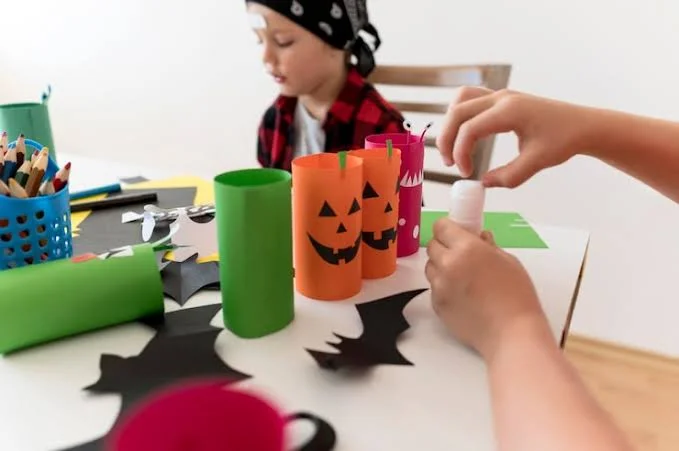
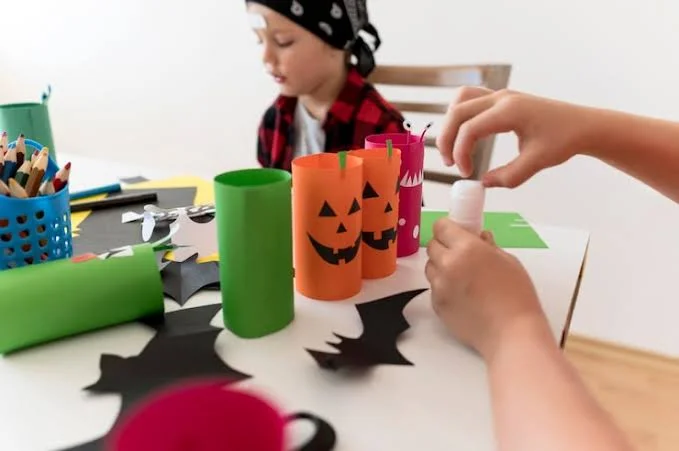
The Pumpkin
- Pumpkins are a classic. Every kid wants to make a pumpkin.
- Paint the roll orange. Let it dry.
- Cut a face out of black paper. You need triangle eyes. You need a zigzag mouth. That is the classic Jack O Lantern face.
- Glue the face onto the roll.
- Cut a little stem out of green paper. Glue it on the top.
- You can add a leaf if you want. My kids skip the leaf. They say it is too much work.
- Put these pumpkins on your mantle. Put them on your dinner table. They look great.
You May Also Like: Good Toys To Keep Kids Busy On Yom Kippur
Frankenstein
- My daughter loves Frankenstein. She thinks he is funny.
- Paint a roll bright green. Let it dry all the way. If it is even a little wet, the paper will slide off.
- Cut out a mouth from black paper. Make it look like a frown. Frankenstein is always frowning.
- Cut two eyebrows. Make them look angry. Glue them on.
- Add googly eyes above the eyebrows.
- For the hair, cut a strip of black paper. Cut zigzags along one edge. Glue it to the top of the roll. Let the hair stick up.
- Draw two little stitches on his cheeks. Use a marker.
- My daughter made three of these last year. She gave them all different faces. One was happy. I told her Frankenstein is not happy. She did not care.
The Witch
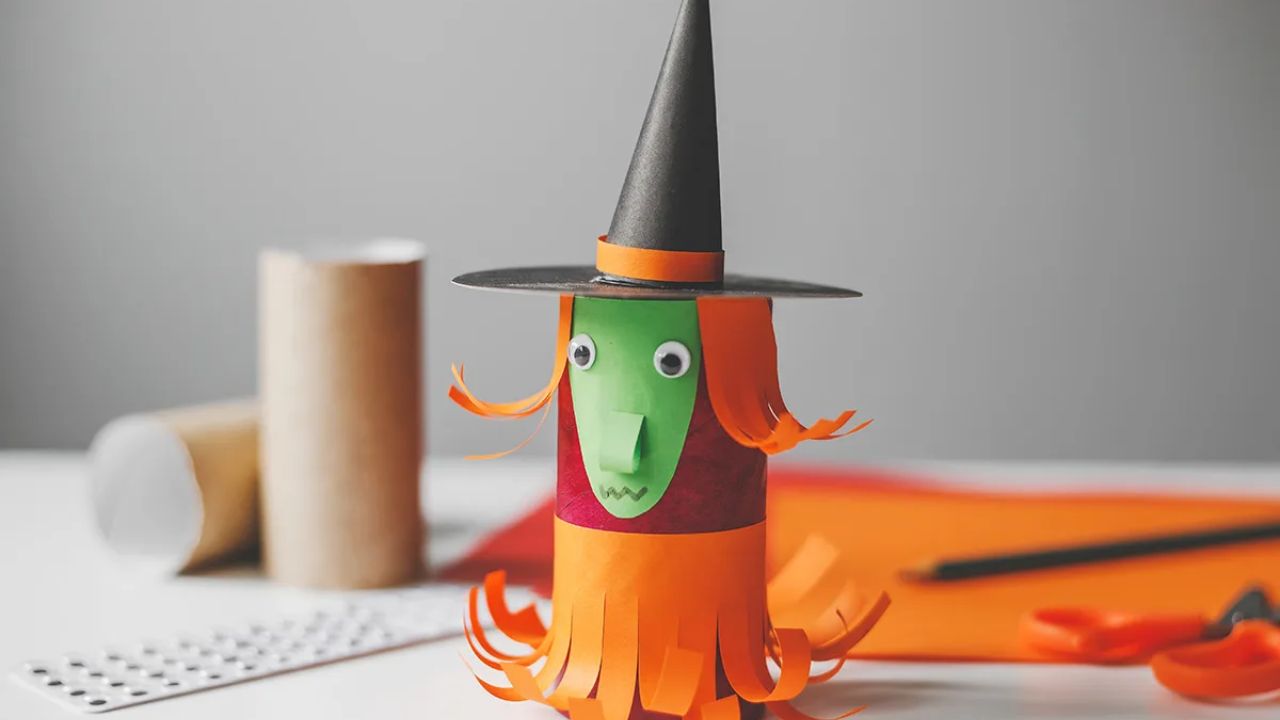
Witches take a little more work. But they are worth it. Paint the roll green. That is her face. Make a hat out of black paper. Cut a circle for the brim. Roll a cone for the top. Glue them together. Wrap black paper around the rest of the roll. That is her dress.
Add hair with orange yarn. Glue it around the top. Let it hang down. Put the hat on top. Draw a face on the green part. Make her smile. Or make her mean. My kids always make her smile. These witches are cute. They are not scary. They are funny.
The Black Cat
Black cats are a must for Halloween. Paint the roll black. Let it dry. Cut about one third off the roll. Make it shorter. Cats are short. Cut ears from black paper. Cut smaller ears from pink paper. Glue the pink ones onto the black ones. Then glue them to the top of the roll. Cut yellow circles for the eyes. Draw slits in the middle. Glue the eyes on. Add a pink nose. Draw whiskers with a marker. Cut a tail from black paper. Glue it on the back. Bend the tail so it curls up. My son made one of these. He carried it around all day. He lost it somewhere. We never found it.
The Haunted House
This one takes time. But it is so cool. You need three rolls. Cut one roll shorter than the other two. Now you have a tall one in the middle and two short ones on the sides. Paint them all black. Let them dry. Make cone roofs from paper. Cut a half circle. Overlap the ends. Glue them. Put a roof on each roll.
Cut out doors and windows from colored paper. Glue them on. Put the three rolls together. Glue them side by side. You have a haunted house. Put a little battery tea light inside. It looks amazing. We did this last year. We put it on our front porch. Everyone asked where we bought it. They could not believe we made it.
Bat Bunting
- Bunting is easy. Make a bunch of bats. Five or six is good.
- Cut a long piece of string. Tie it between two chairs.
- Staple the bats onto the string. Space them out.
- Hang it across a window or over a door.
- It looks so festive. It takes almost no time.
Tips That Help
- I have made these crafts a lot. Here is what I learned.
- Start saving rolls early. You need more than you think.
- Use acrylic paint. The cheap stuff from the dollar store works fine.
- Let the paint dry. I know you are excited. But wait. If you do not wait, everything smears.
- Use a glue gun for heavy things. But let an adult do it. My daughter burned her finger once. She cried for an hour.
- Let kids make mistakes. If the eyes are crooked, leave them. It looks better that way. It looks like a kid made it.
Why This Matters?
his is not just about crafts. It is about time with your kids. My kids remember the things we make. They do not remember the toys I buy them. They remember painting bats. They remember gluing googly eyes on mummies. That is why I save my toilet paper rolls. That is why I look like a hoarder.
When Things Go Wrong?
- Things will go wrong. That is okay.
- The paint will drip. The glue will get everywhere. The googly eyes will fall off.
- Fix it. Or do not fix it. It does not matter.
- One time my son glued a bat wing on backwards. He did not care. He said it was a bat that flew into a wall. That made me laugh.
- Crafts are not about perfection. They are about fun.
Clean Up
Clean up is easy. Throw away the paper scraps. Put the paint away. Wash the brushes. Put your finished crafts in a safe place. Wrap them in tissue paper. Put them in a box. They will last until next year. We still have crafts from two years ago. They are a little banged up. But we still put them out.
Conclusion
That is all I have to say. Save your toilet paper rolls. Make some crafts. Have some fun. Halloween comes once a year. Make it count. Do not overthink it. Just start. Paint something. Glue something. See what happens. Your kids will love it. You will love it. And you will not spend any money.