My grandmother taught me embroidery when I was twelve years old. I still remember sitting on her veranda, struggling to thread a needle while she laughed at my clumsy fingers. She said embroidery is not about being perfect. It is about making something with your hands that comes from your heart.
That stuck with me. And now I want to share what I learned with easy hand embroidery for clothes.
Why I Love Embroidering My Own Clothes?
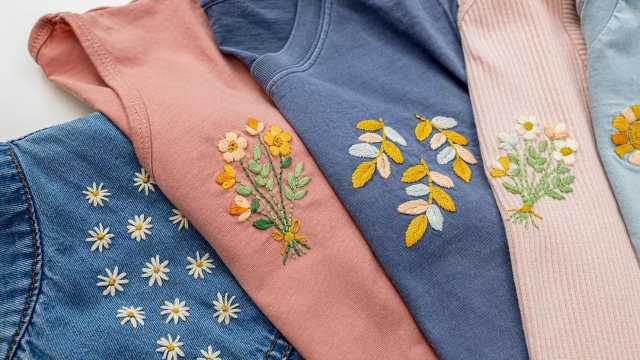
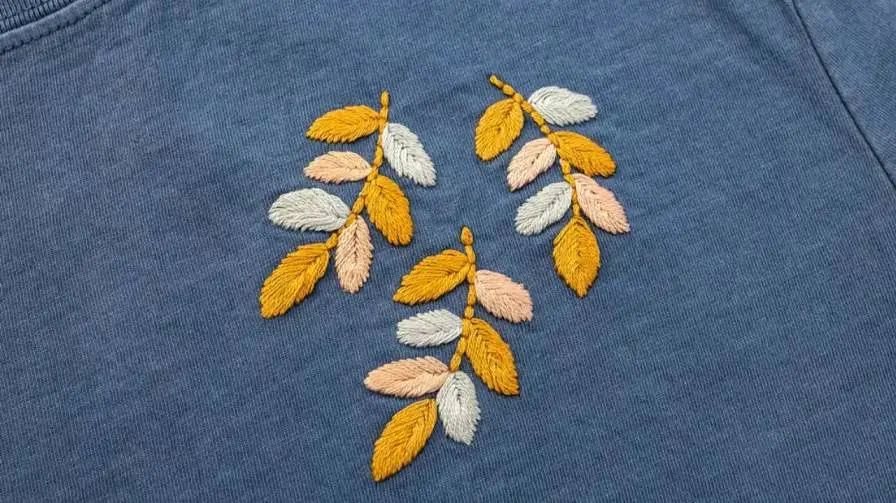
There is something special about wearing a shirt that has your own stitches on it. You know every single thread. You remember the afternoon you spent making those little flowers. No one else has that same piece. It is completely yours.
I started because I was bored with my wardrobe. Everything looked the same. All the kurtas in the market had the same machine-made designs. They felt lifeless. So I picked up a needle and started adding my own touches.
The first thing I embroidered was a tiny heart on the corner of my jeans pocket. It took me two hours. The stitches were crooked. The thread kept knotting up. But when I wore those jeans the next day, I felt proud. People asked where I bought them. I said I made it myself.
That feeling never gets old.
What You Actually Need To Start?
People think you need a whole craft room full of supplies. Not true. Here is what I use and what you really need.
A hoop
Get a wooden hoop. Six inches is good. It should feel sturdy in your hand. Do not buy the plastic ones. They slip and your fabric gets loose.
Needles
Go to any shop and ask for embroidery needles. They have bigger holes than regular needles. Size seven works for most things. Buy a small pack. You will lose a few. Everyone does.
Thread
They call it floss. It comes in six strands twisted together. You can pull them apart to make thinner thread. Start with basic colours. Red, blue, yellow, white, black. You can add more later.
Scissors
Small scissors with sharp tips. Keep them only for thread. Do not let anyone use them for paper. Blunt scissors ruin your thread.
A pen that washes off
Water-soluble pen. Draw your design, stitch over it, wash it away. Simple.
That is it. You do not need anything else. No fancy gadgets. No expensive kits.
Read Also: How To Make Scrunchies At Home With Fabric
Which Fabric Works Best?
I have stitched on many fabrics. Some were great. Some were a nightmare.
Denim
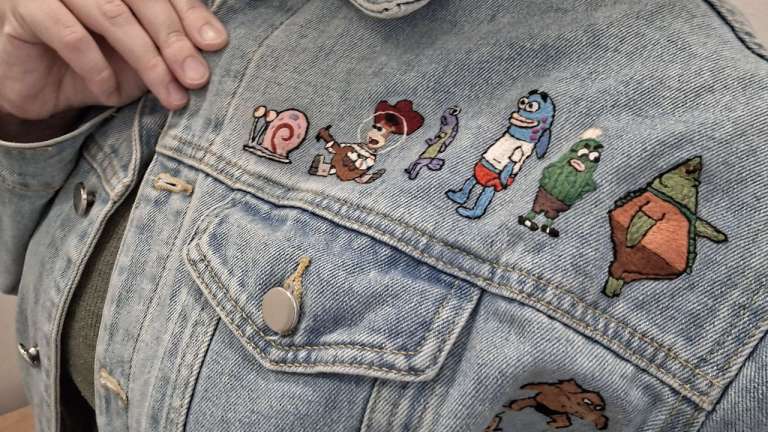
This is my favourite. Denim is thick and sturdy. It does not move around when you stitch. Jeans, jackets, denim skirts. All of them take embroidery beautifully. The thick fabric hides any mistakes. Your stitches sit on top nicely.
Cotton
Simple cotton is lovely to work with. Your needle goes through smoothly. Cotton kurtas, t-shirts, dresses. Just make sure the fabric is not too thin. If light shows through it, it is too thin.
Linen
Linen has a nice rough texture. Your stitches look very pretty on linen. It holds the thread well. Linen shirts and dresses feel elegant with embroidery.
Avoid stretchy fabric
T-shirts with stretch are tricky. The fabric moves while you stitch. Your design gets distorted. If you must stitch on stretchy fabric, put something stiff on the back. They sell this at craft shops. It is called stabiliser.
The Stitches You Really Need
You do not need to learn fifty stitches. I know maybe six or seven. That is enough to make everything I want.
Running stitch
This is the first stitch I learned. Push the needle in, pull it out, push it in again. Like sewing a line of tiny dashes. Good for borders and simple lines.
Backstitch
This makes a solid line. You take a small stitch backwards instead of forwards. It looks like one continuous line. Perfect for outlines and writing names.
Lazy daisy
This stitch makes little petals. You make a loop with your thread and anchor it with a tiny stitch. Do five loops in a circle and you have a flower. Very easy. Very pretty.
French knot
This one takes practice. You wrap the thread around your needle and pull it through. It makes a small knot. Use it for flower centres and dots. I practiced this one for a week before I got it right.
Satin stitch
You fill a shape with parallel stitches. Like colouring with thread. Leaves, petals, big shapes. Keep your stitches close together.
How I Put Designs On Fabric?
I used to trace designs from my phone. I would hold the fabric against the screen and draw. That worked but it was hard on the eyes.
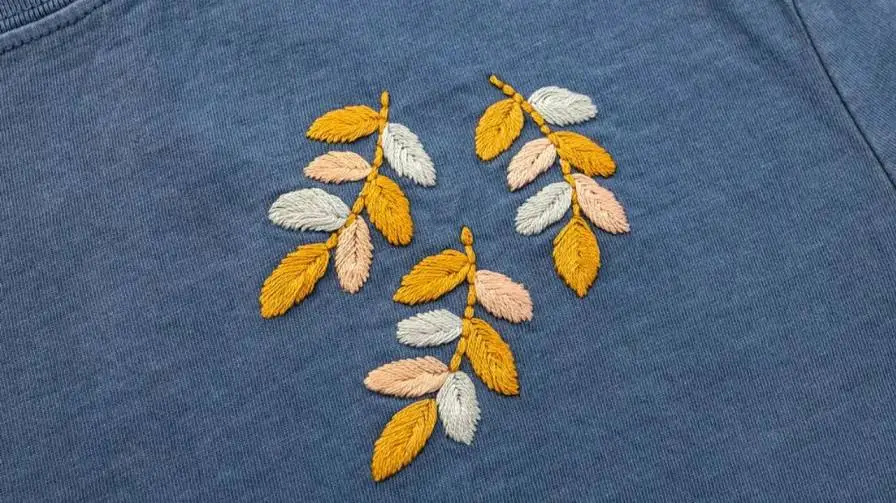
Now I mostly draw freehand. Simple things. Flowers, stars, leaves, hearts. You do not need to be an artist. Just draw basic shapes.
Here are some ways to get designs on fabric.
Draw directly
Use your washable pen and just draw on the fabric. Simple designs work best. Do not overthink it.
Trace from paper
Print a design. Tape it to a window. Tape your fabric over it. The light from the window lets you see through both layers. Trace it.
Use transfer paper
This works on dark fabric. Put transfer paper between your design and fabric. Trace over it. The design transfers.
The direct drawing method is my favourite. Quick and easy.
Let Me Walk You Through A Real Project
Last month I embroidered a small garden on an old denim jacket. Let me tell you exactly how I did it.
I put the jacket in my hoop. The pocket area was loose so I had to adjust the hoop a few times. Tight fabric is important. If it is not tight, your stitches look sloppy.
I drew a simple stem with a pen. Two lines curving up. Then I drew three circles for flowers and some leaf shapes. Nothing complicated.
I started with backstitch for the stems. I took small stitches going backward. The line looked solid and clean. I made sure my stitches were not too big. Tiny stitches look neater.
Then I did lazy daisy for the flowers. Each flower got five petals. I spaced them evenly around the centre. Some petals were bigger than others. That is okay. It looks natural.
For the leaves I used satin stitch. I filled the leaf shape with parallel stitches going from bottom to top. I kept them close together so no fabric showed through.
The flower centres were French knots. I made three knots in the middle of each flower. My first few knots were messy. I pulled them out and tried again. After a few attempts they looked good.
When I finished, I took the jacket out of the hoop. I washed it gently to remove the pen marks. The embroidery stayed perfect.
Now that jacket is my favourite thing to wear. People stop me to ask about it.
Things I Learned The Hard Way
I made every mistake possible. Here are some things I wish someone told me.
Do not skip the hoop
I tried stitching without a hoop once. The fabric kept bunching up. My stitches were uneven. It looked terrible. Use the hoop.
Buy good thread
Cheap thread breaks. It fades. It looks dull. Spend a little extra on good floss. Your embroidery will last years instead of months.
Do not pull too hard
When I started, I pulled every stitch as tight as I could. The fabric puckered. It looked wrinkled and bad. Keep your stitches loose enough that they sit flat.
Separate your thread
Embroidery floss has six strands. Most designs look better with two or three. Thick thread is clumsy. Thin thread looks delicate and pretty.
Practice before you stitch
Keep a scrap piece of fabric. Practice new stitches there first. Your good clothes will thank you.
Read: Indian Wedding Dress Code: What to Wear for Marriage Functions
How To Wash Embroidered Clothes?
- This is important. You spent hours making something beautiful. Do not ruin it in the washing machine.
- Hand wash if you can. Cold water. Mild soap. Do not scrub the embroidery. Just swish it around gently.
- If you must use a machine, turn the garment inside out. Put it in a mesh bag. Use cold water and gentle cycle.
- Never put embroidered clothes in the dryer. The heat shrinks the fabric and damages the stitches. Air dry only.
- When you iron, iron from the back. Do not iron directly on the embroidery. It flattens the stitches.
Fun Things To Try
Once you get comfortable, try these ideas.
Write your name
Use backstitch to write your name on your kurta collar. Gift it to someone. They will love it.
Fix holes
Got a small hole in your jeans? Embroider over it. Make it look intentional. A flower or a star hides the hole perfectly.
Rainbow jeans
Stitch rainbow stripes down the side of your jeans. Use different colours. Very cheerful.
Star jacket
Stitch tiny stars on the back of a denim jacket. Use French knots and small straight stitches. Looks easy hand embroidery for clothes.
Vine on pants
Let a vine stitch grow up from the hem of your pants. Add small leaves along the way.
Border on dupatta
Stitch a simple border along the edge of your dupatta. Running stitch looks lovely. Use a contrasting colour.
Mistakes People Make
I see beginners make these mistakes often.
Skipping the hoop
I already said this. It is important. Do not skip it.
Wrong needle
Sewing needles and embroidery needles are different. Embroidery needles have bigger holes. Use the right one.
Loose fabric
If your fabric is loose in the hoop, tighten it. It should feel like a drum.
Using all six strands
Too thick. Separate your floss. Use two or three strands.
Tight stitches
Keep them loose. They should not pull the fabric.
FAQs
Can I embroider on any fabric?
Some fabrics work better than others. Denim, cotton, linen are great. Stretchy fabrics need more care.
How long to learn?
You can learn basic stitches in one day. Making nice projects takes practice. Give yourself time.
Is this expensive?
No. A hoop, needles, and thread cost very little. Start with basic supplies.
Will washing ruin it?
If you wash carefully, no. Hand wash cold. Air dry. Iron from the back.
Can kids do this?
Yes. My niece learned at age eight. Big needle, thick thread, simple designs.
My Final Thoughts
Embroidery is not about being perfect. It is about making something with your hands. Your first project will have crooked stitches. That is okay. My first project was a mess. The thread was tangled. The design was lopsided. But I learned. And every project after that got better.
The best thing about embroidery is that you can do it anywhere. On the sofa watching TV. On the balcony in the evening. On the train during your commute. It travels with you.
Start small. Embroider something tiny. A single flower. A simple star. Wear it. Feel proud. Then do another one.