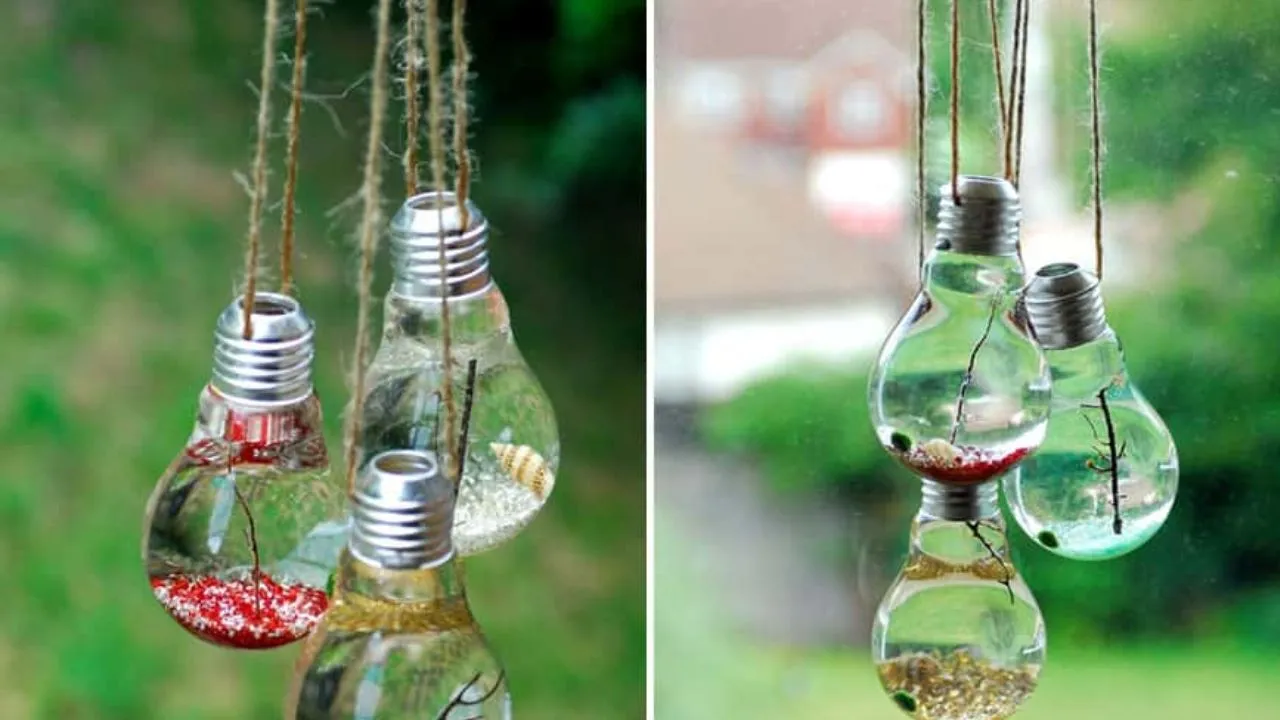
Repurposing old light bulbs into crafts is a simple way to turn trash into something useful and beautiful. The best bulbs for this are standard incandescent bulbs. You should not use fluorescent, LED, or halogen bulbs because they contain materials that are dangerous to handle. Before you start any project, put on safety glasses and gloves. Work over a towel or inside a cardboard box to catch small pieces of glass.
This guide will walk you through everything you need to know. You will learn how to safely open a bulb, how to clean it, and how to turn it into four different crafts. Each project comes with clear steps. By the end, you will have the skills to make your own terrarium, oil lamp, hanging vase, or repurpose old light bulbs crafts.
Why Old Light Bulbs Make Great Craft Materials?
A burned-out light bulb is not garbage. It is a small glass container with a metal base. Once you remove the inside parts, you have a clear glass shape that is perfect for holding small items. The glass is thick enough to be durable, but thin enough to see through clearly.
Using old bulbs for crafts keeps glass out of landfills. Incandescent bulbs may contain small amounts of lead, so putting them in the trash is not ideal. Giving them a second life as a decoration or a useful object is a better choice. You also save money because you do not need to buy new containers or materials.
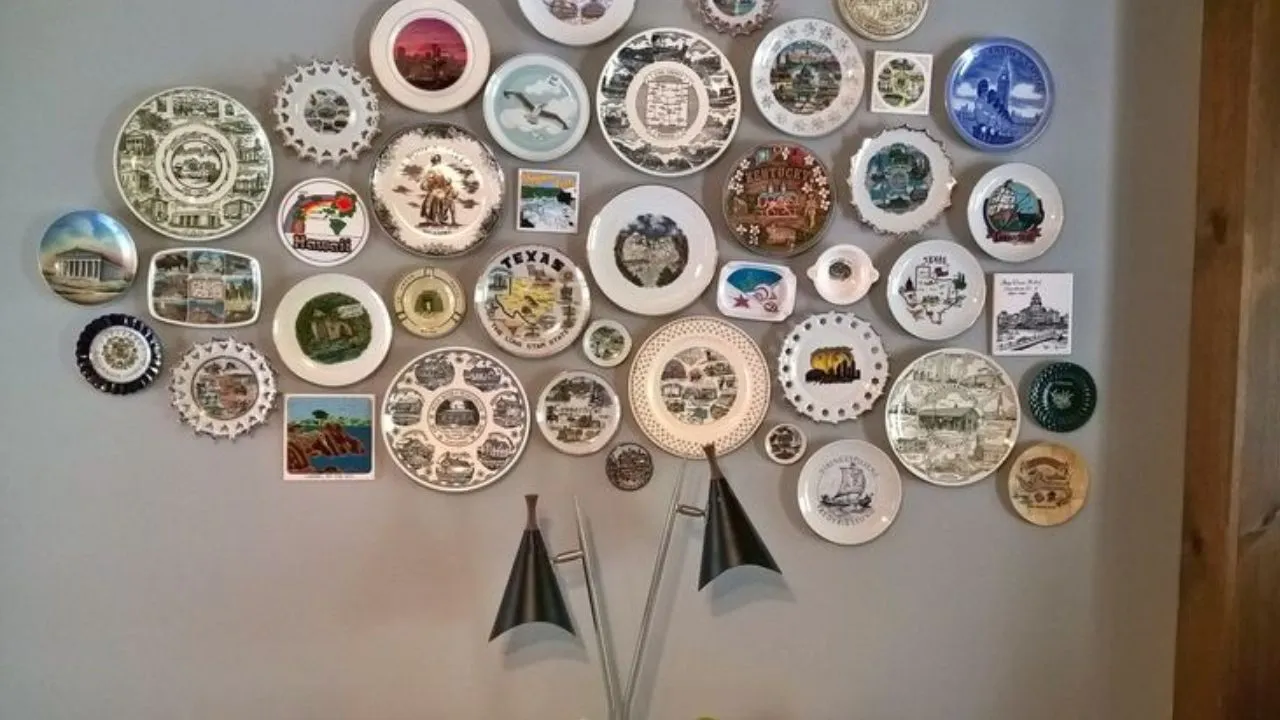
Read Also: Repurpose Old Plates Into Wall Decor
Safety First: What You Must Know Before You Begin
Safety is the most important part of this hobby. Glass can break. Sharp metal parts can cut you. You need to protect your hands and eyes at all times.
Wear safety glasses. Small pieces of glass can fly when you break the inside parts. Your eyes need protection. Wear gloves. Cut-resistant gloves are best. They protect your fingers from sharp edges and broken glass.
Only use incandescent bulbs. Compact fluorescent bulbs contain mercury. If you break one, you release a toxic chemical into your home. LED bulbs have small electronic parts that are hard to remove. Halogen bulbs get very hot and can burn you. Stick to standard incandescent bulbs for all projects.
Work in a contained space. Place an old towel or a shallow cardboard box on your work surface. Any glass that falls will land in the box or on the towel. This makes cleanup much easier and safer.
Never use a bulb that has been recently lit. Wait at least 30 minutes after a bulb burns out before you touch it. The glass can stay hot for a long time.
How to Open a Light Bulb Safely?
Opening the bulb is the step that stops most people. It looks difficult, but with the right tools and a slow approach, it is very doable. You need needle-nose pliers, a small flathead screwdriver, and a cloth.
Step 1: Remove the Metal Contact Point
Look at the bottom of the bulb. You will see a small round brass or silver dot. This is the electrical contact. Use your screwdriver to gently pry it up. It may pop off, or you may need to work around the edges until it loosens.
Step 2: Remove the Black Insulation
Under the metal contact is a black material. This is glass insulation. It is brittle. Use your screwdriver to chip it away in small pieces. Do not try to remove it all at once. Apply light pressure so you do not crack the outer glass. Some people use a razor blade to score around the edge first, then pull it off with pliers.
Step 3: Pull Out the Inside Parts
Once the black insulation is gone, you will see a glass tube and the filament assembly inside. Insert your needle-nose pliers into the opening. Grip the inside parts firmly. Pull slowly and steadily. You may need to use some force, but do not jerk or twist quickly. The goal is to pull the whole inside assembly out through the base without breaking the outer bulb.
If the filament breaks into pieces, that is okay. Shake the bulb gently to get the loose pieces out. You can also use the pliers to reach in and pull out remaining bits.
Step 4: Clean the Inside
Run a damp cloth along the inside of the bulb. This removes glass dust and small fragments. You can also rinse the bulb under running water. If there are printed words or numbers on the glass, you can rub them off with isopropyl alcohol or acetone.
Let the bulb dry completely before you start your craft project.
Project 1: Miniature Air Plant Terrarium
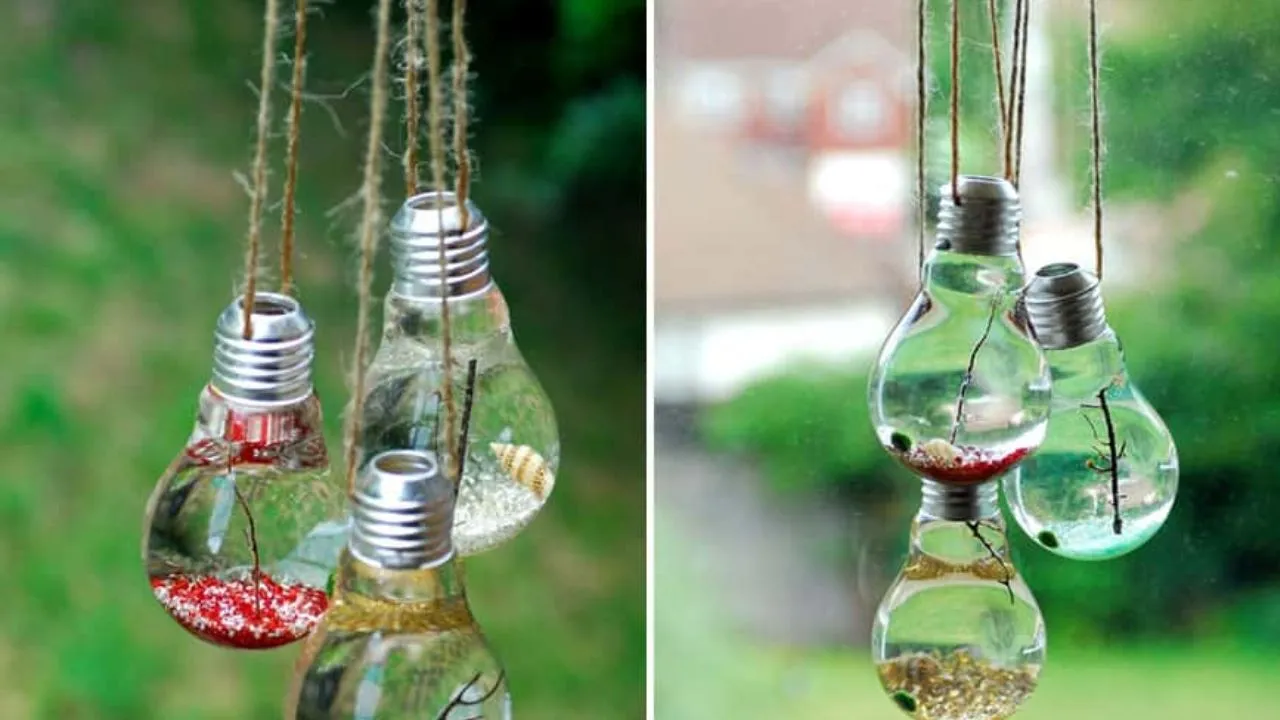
A light bulb terrarium is the most popular craft for old bulbs. It turns a burned-out bulb into a tiny garden. Air plants are perfect for this because they do not need soil. They absorb water through their leaves.
What You Need
-
One cleaned, opened light bulb
-
Small air plants (Tillandsia ionantha varieties work best because they stay under 2 inches)
-
Sheet moss or curtain moss
-
Small pebbles
-
Activated charcoal
-
A small spoon or tweezers
-
A cork that fits the opening, or a wooden bead
-
Jute rope or string for repurpose old light bulbs crafts
How to Build It
Add the base layer. If you are using only air plants, you can skip the soil. But adding a thin layer of small pebbles gives the terrarium a finished look. Use a small funnel or a folded piece of paper to guide the pebbles into the bulb. This keeps the glass clean.
Add charcoal if you use moss. Put in about a quarter inch of activated charcoal. This helps prevent mildew and keeps the terrarium fresh.
Place the moss. Use tweezers to push small pieces of moss into the bulb. Sheet moss and curtain moss are good choices because they stay compact. Arrange the moss around the edges to create a soft green base.
Add the air plant. Use tweezers to gently place the air plant in the center. The plant should sit on top of the moss. Do not bury it. Air plants need good air flow around their leaves.
Close the top. You can seal the bulb with a cork or leave it open. If you seal it, the terrarium holds humidity, which is good for moss. If you leave it open, you need to mist the plants more often.
Make a hanger. Wrap jute rope around the metal base of the bulb. Tie it securely. Hang your terrarium near a window that gets bright, indirect light.
Caring for Your Terrarium
Air plants do not like to sit in water. If your bulb has no drainage, use a dropper or spray bottle to add just a few drops of water at a time. Let the moss dry slightly between waterings. If you sealed the bulb, you may only need to water once every two weeks.
Project 2: DIY Oil Lamp
An old light bulb can become a working oil lamp. This project gives you a functional object that looks like a piece of art. The glass bulb holds the oil, and a simple wick provides the flame.
What You Need
-
One cleaned, opened light bulb
-
Lamp oil or olive oil
-
A cotton wick
-
A metal washer or a small piece of cork
-
Copper wire for a stand (optional)
How to Make It
Create the wick holder. The opening at the base of the bulb needs to hold the wick upright. A small metal washer works well. You can also use a piece of cork with a hole poked through the center. The wick should fit snugly so it does not fall into the oil.
Thread the wick. Push one end of the cotton wick through the washer or cork. Leave about half an inch of wick sticking out the top. The rest of the wick goes down into the bulb.
Add the oil. Fill the bulb about two-thirds full with lamp oil. You can also use olive oil, but lamp oil burns cleaner and lasts longer. Use a small funnel to avoid spills.
Place the wick holder. Set the washer or cork into the opening of the bulb. The wick should stand straight up.
Make a stand if you want one. Bend copper wire into a small circle that fits around the base of the bulb. Create legs that extend down so the bulb sits upright. This is optional. You can also place the bulb in a small bowl of sand or rice to keep it steady.
Light the wick. Wait a few minutes for the oil to soak up into the wick. Then light the top of the wick with a match. The flame will be small and steady.
Safety for the Oil Lamp
Never leave a burning oil lamp unattended. Keep it away from curtains, papers, and anything that can catch fire. Place it on a heat-proof surface. Do not fill the bulb more than two-thirds full. Oil expands when it warms up.
You May Also Like: Best Repurposed Dresser Ideas for Stylish DIY Makeovers
Project 3: Hanging Glass Vase
A cleaned light bulb can hold a single flower or a few small stems. This is one of the easiest projects. It takes almost no time and looks elegant.
What You Need
-
One cleaned, opened light bulb
-
Jute twine or thin ribbon
-
A small flower or a few stems of greenery
-
Water
How to Make It
Make a hanger. Cut a piece of jute twine about 24 inches long. Fold it in half. Tie a knot about one inch from the folded end. This creates a loop for hanging. Wrap the two loose ends around the metal base of the bulb. Tie them tightly. Make sure the bulb hangs level.
Add water. Use a dropper or a small funnel to fill the bulb about halfway with water. The opening is small, so work slowly.
Add the flower. Choose a small flower that fits through the opening. A single rosebud, a sprig of lavender, or a small wildflower works well. Trim the stem so the flower sits just above the water. Push the stem through the opening.
Hang it up. Hang your vase near a window or on a hook. The glass catches the light and makes the flower look brighter.
You can also skip the hanger and place the bulb in a small stand. A metal bottle cap or a coiled piece of wire can work as a stand.
Project 4: Storage Container for Small Items
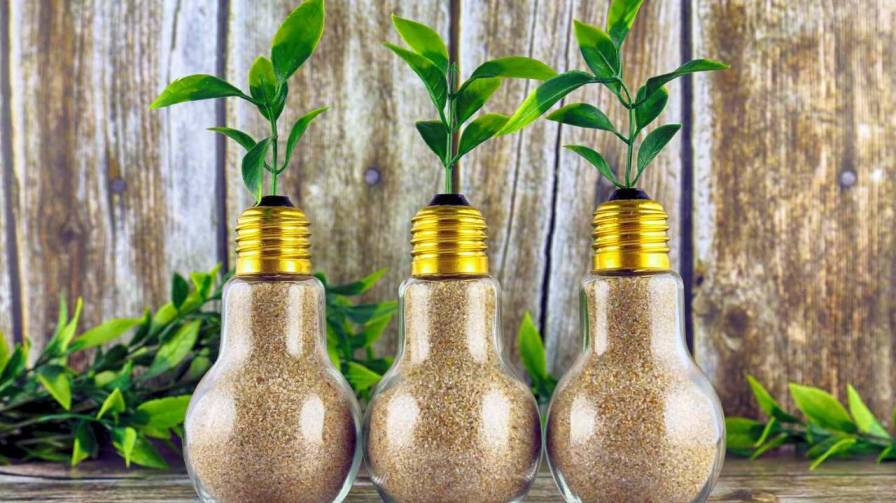
The same process that opens a bulb for a terrarium also creates a small storage container. The bulb is perfect for holding tiny items that usually get lost in drawers.
What You Need
-
One cleaned, opened light bulb
-
A cork that fits the opening
-
Small items to store
How to Make It
Find a cork. A cork from a wine bottle often fits the opening of a standard light bulb. If it is too large, sand it down. If it is too small, wrap a piece of tape around it until it fits snugly.
Fill the bulb. Use a small funnel to pour in items. The opening is narrow, so you need to use things that are small enough to fit through.
Seal it. Push the cork into the opening. The cork keeps the items inside and protects them from dust.
Ideas for What to Store
-
Beads for jewelry making
-
Sequins or small craft supplies
-
Pins and needles
-
Spices for cooking
-
Sand from a vacation
-
Tiny shells or pebbles
-
Matches for emergency use
This project is especially good for gifts. You can fill a bulb with bath salts, dried lavender, or candy for a small present.
How to Display Your Light Bulb Crafts
Each project needs a way to stand or hang. Here are simple display ideas.
For tabletop terrariums: Glue the bulb to a small piece of wood or a flat stone. Use a glue gun or strong craft glue. The base keeps the bulb from rolling.
For hanging projects: Jute twine is strong and looks natural. Wrap it around the metal base several times and tie it securely. You can also use thin ribbon or wire.
For oil lamps: A copper wire stand adds a nice touch. Bend the wire into a circle for the base and three or four legs. Place the bulb in the center.
For storage containers: A small wooden block with a hole drilled into it makes a good stand. Glue the bulb into the hole.
Common Mistakes to Avoid
Using the wrong bulb type. Never use CFL, LED, or halogen bulbs. They contain hazardous materials or are too difficult to open safely.
Working without protection. Always wear glasses and gloves. Glass shards can cause serious eye injuries.
Rushing the opening process. Slow and steady wins here. If you rush, you will break the bulb. Prepare two or three bulbs so you have spares if one breaks.
Overwatering terrariums. Light bulb terrariums have no drainage. Too much water causes mold and kills the plants.
Leaving oil lamps unattended. A flame is a flame. Treat it with respect.
Frequently Asked Questions
Can I use any light bulb for these crafts?
No. Only use standard incandescent bulbs. Fluorescent bulbs contain mercury, which is toxic. LED and halogen bulbs are not safe to open at home.
How do I know if a bulb is incandescent?
Incandescent bulbs are the old-fashioned kind with a wire filament inside. They are usually heavier than LED bulbs. The glass is thicker. If you can see a thin wire inside, it is incandescent.
What if I break the glass while opening the bulb?
Wear gloves and sweep up the pieces carefully. Put the glass in a thick paper bag or wrap it in newspaper before throwing it away. Do not use your bare hands to pick up glass.
Can I put soil in a light bulb terrarium?
You can, but soil makes the terrarium heavier and harder to clean. Air plants and moss do not need soil. If you use soil, add a layer of pebbles first for drainage.
How long do these crafts last?
A terrarium can last for years if you care for the plants. An oil lamp works as long as you refill it. A vase or storage container lasts indefinitely if you do not drop it.
Final Thoughts
Repurposing old light bulbs is a rewarding hobby. It takes something that most people throw away and turns it into a useful or beautiful object. The key is safety. Use the right bulbs, wear protection, and work slowly.
Start with the simplest project. The hanging vase takes only minutes. Once you feel comfortable opening a bulb, try the terrarium or the oil lamp. Each project teaches you a little more about working with glass.