Every home has them. Old plates sitting at the back of a kitchen cabinet. Some might be from your grandmother's collection. Others might be pieces you picked up from a market years ago and never used. They take up space. They serve no purpose. But throwing them away feels wrong.
Here is a simple solution. Put them on your repurpose old plates into wall decor.
This is not a new idea. People have displayed decorative plates for generations. What makes it different today is the approach. You do not need matching sets or formal dining room walls. You can use any plate you like. Chipped ones. Mismatched ones. Bright modern pieces. Vintage finds. They all work.
The best part is that this project costs very little. You probably already have the plates. You just need a few basic supplies. And you can do it in an afternoon.
This guide will walk you through everything. Choosing plates. Planning the layout. Hanging them safely. And making sure the whole thing looks good when you are done.
Why This Project Works?
There are several reasons why plate walls make sense for Indian homes.
First, they add color and pattern without any painting or renovation. A bare wall becomes interesting just by adding a few plates. The designs on old china are often beautiful. They deserve to be seen.
Second, it is a sustainable choice. Instead of buying new art, you use what you already own. This is better for the environment. It is also easier on your wallet.
Third, it works in any room. A kitchen wall. A hallway. Above a bed. Even a living room. The plates bring warmth and personality wherever you put them.
Fourth, it is renter-friendly. Some methods do not need nails or drills. You can remove the plates without damaging the wall. This matters if you live in a rented flat or like to change things often.
Read Also: Repurpose Rain Gutters For Gardening
What You Need to Start?
The supplies depend on how you plan to hang the plates. But some things are always helpful.
You will need the plates themselves. Go through your kitchen cabinets. Check with family members who might have extra. Visit local markets or thrift stores. Even single plates with beautiful patterns are useful.
For hanging, you have options. Adhesive discs are popular. These stick to the back of the plate and have a small ring for hanging. You activate them with a little water. They hold well and stay hidden behind the plate .
Command strips are another option. These work for lightweight plates with a flat back. They come off cleanly when you remove them .
Traditional plate hangers use springs or wire. They grip the edges of the plate. These work for heavier pieces but may show a little from the front .
For planning your layout, you need paper. Any paper works. Brown paper. Newspaper. Even aluminum foil. You also need scissors, tape, a pencil, a level, and a measuring tape.
Choosing the Right Plates
Not every plate needs to match. In fact, a mix often looks better. But some thought helps.
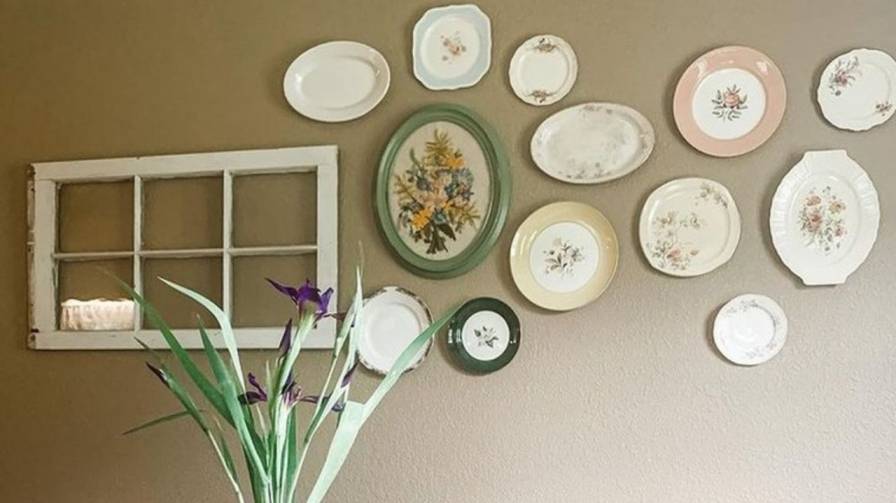
Think about color. You can choose plates that share a common color. Blue and white china. Warm earth tones. Or you can go completely mixed. Both approaches work. The key is that you like what you see.
Think about size. Large plates make a strong statement. Small plates are good for filling gaps. Mixing sizes creates more visual interest than using all the same size .
Think about condition. Chipped plates can still be hung. In fact, some people find the imperfections charming. But if a plate is cracked in a way that might break further, do not use it. Safety first.
You can also use bowls. Shallow bowls can be hung the same way as plates. They add a little depth to the display .
If you have heirloom pieces from your family, this is a lovely way to honor them. Instead of keeping them packed away, you give them a place of importance on your wall.
How to Plan Your Layout?
Do not start hammering nails into the wall. Plan first.
The easiest method is to lay the plates on the floor. Move them around until you find an arrangement you like. This lets you try different combinations without any commitment.
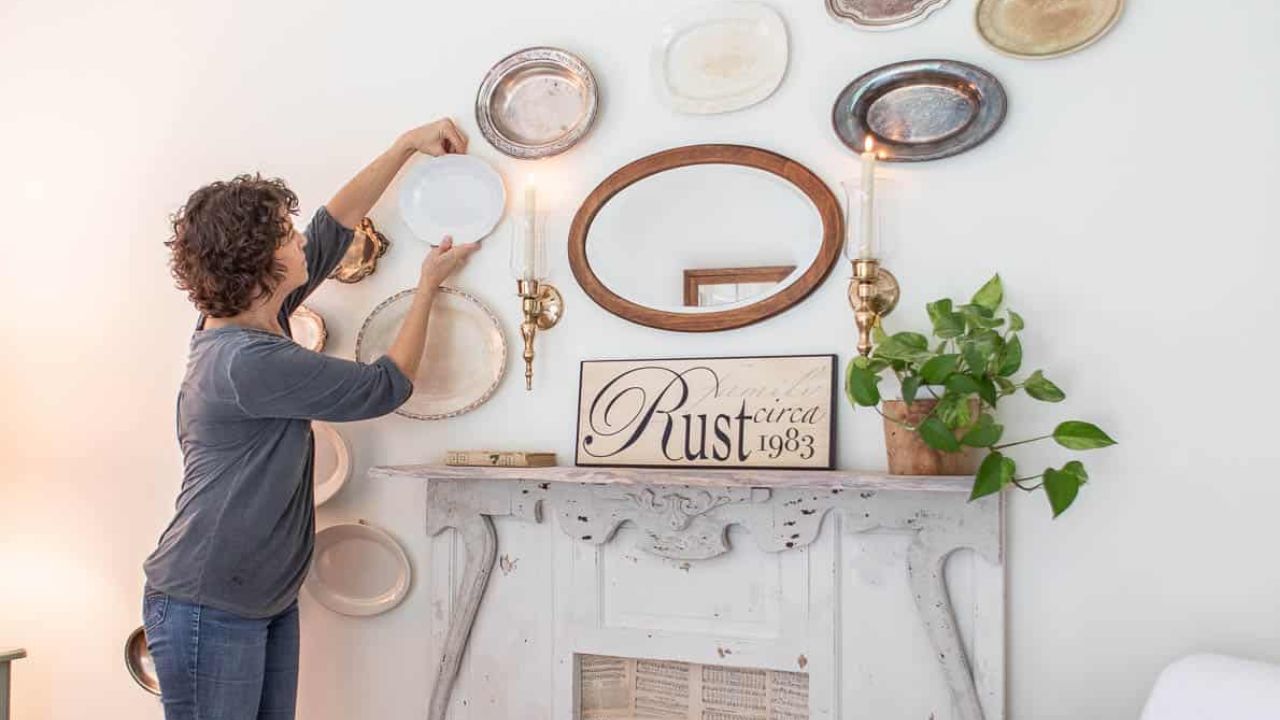
Once you have a layout you like, make paper templates. Trace each plate onto paper. Cut out the shapes. Use tape to stick these paper shapes on the wall. Step back and look. Move them around if needed. This step saves you from making holes in the wrong places .
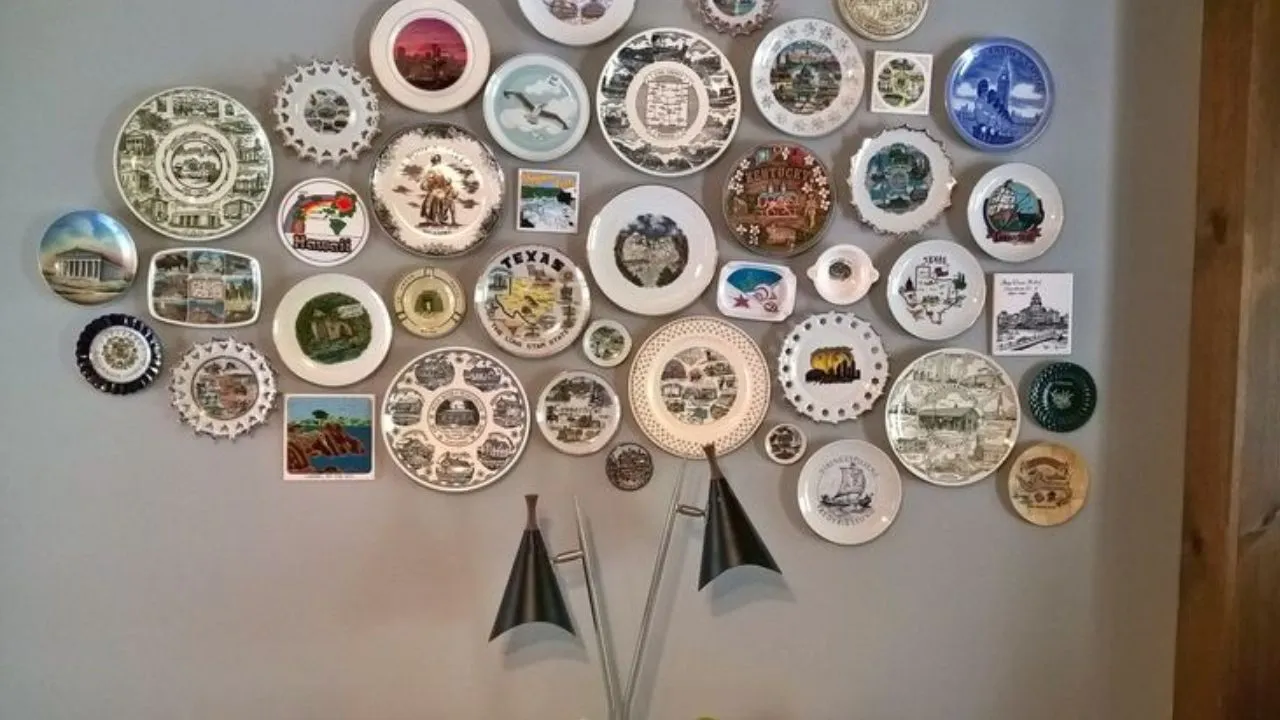
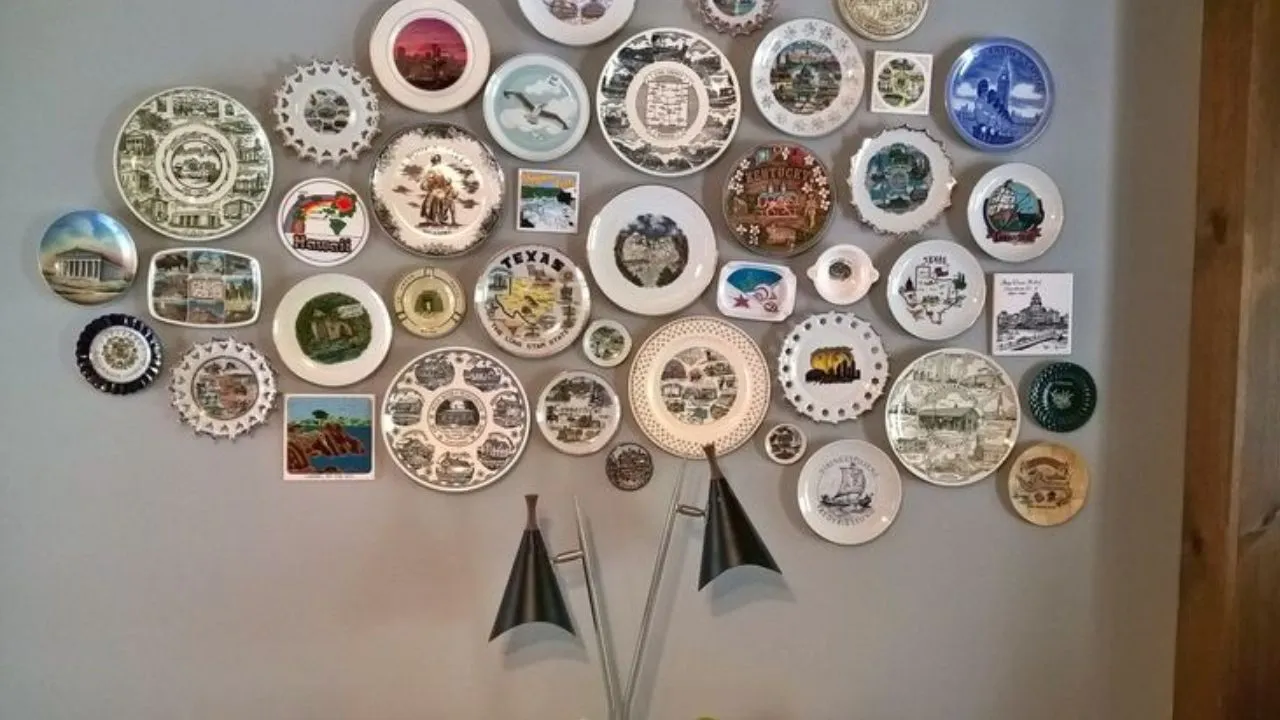
There are several common layouts. A grid pattern uses rows and columns. This looks formal and tidy. A gallery wall groups different sizes together with a larger piece in the center. A vertical line works well for narrow walls. A circular or oval cluster is good above furniture .
For Indian homes, think about where the wall is. A kitchen wall near the dining area is a natural spot. A hallway wall that gets seen every day. Above a console table in the living room. Even above a bed, if the plates are light and safely hung.
Hanging Methods That Work
There are three main ways to hang plates. Each has advantages.
Adhesive Discs
These are small fabric discs that stick to the back of the plate. You wet them slightly to activate the glue. Press them firmly on the plate. Let them dry overnight. Then hang the plate on a small nail or hook .
The good thing about discs is that they are almost invisible from the front. The plate sits close to the wall. They do not scratch the plate. They are also easy to remove. You just soak the plate in water and the disc comes off .
One thing to know: the glue can weaken over time. Some people have had plates fall after several years. It is a good idea to check them occasionally. Do not use this method for very valuable plates. Use it for plates you can replace or that are not too heavy .
Command Strips
These are the strips you might already use for hanging pictures. They work for lightweight plates. The back of the plate needs to be flat enough for the strip to stick. They do not work on unglazed or rough pottery .
The advantage is that they come off without leaving marks. This is perfect for renters. You can also adjust the position slightly after hanging .
Always follow the weight limits. A large plate is too heavy for small strips.
Traditional Plate Hangers
These use springs or wire to grip the edge of the plate. They work for heavier pieces. They are very secure. The downside is that the hanger may show a little around the edges. The plate also sticks out from the wall more than with discs .
For very old or delicate plates, be careful. The spring might put pressure on the rim. Check that the plate is not being stressed.
Whichever method you choose, always test the hold before letting go. Give a gentle tug. Make sure it is secure.
Making the Hanging Process Easier
Getting nails in the right spot is the hardest part. Here is a trick that helps.
After you have your paper templates on the wall, you can use aluminum foil to mark the exact spots. Lay foil over the back of your plates while they are face down. Press around the hanging ring or hook. The foil will show an indentation. Tape the foil to the wall where your paper template was. Hammer your nails through the indentations. Remove the foil. Hang the plates .
This method means you only make one hole for each plate. No mistakes. No extra holes to fill.
Design Ideas for Your Plate Wall
You can keep it simple or make it elaborate. Here are some approaches that look good.
Symmetry
Arrange plates in even rows and columns. Use the same size plates or balance different sizes evenly. This creates a calm, ordered look. It suits a dining room or a formal hallway .
Gallery Wall
Mix different sizes and shapes. Start with a large plate in the center. Build outward with smaller pieces. This looks collected and personal. It works well in a living room or above a sofa .
Mix with Other Art
Plates do not have to be alone. Combine them with framed pictures, mirrors, or woven baskets. This adds texture and makes the wall feel more layered. Keep the colors related so it does not look messy .
Monochromatic
Choose plates in one color family. All white. All blue. All warm tones. This creates a calm, cohesive look. It is elegant without being fussy .
Floating Shelf
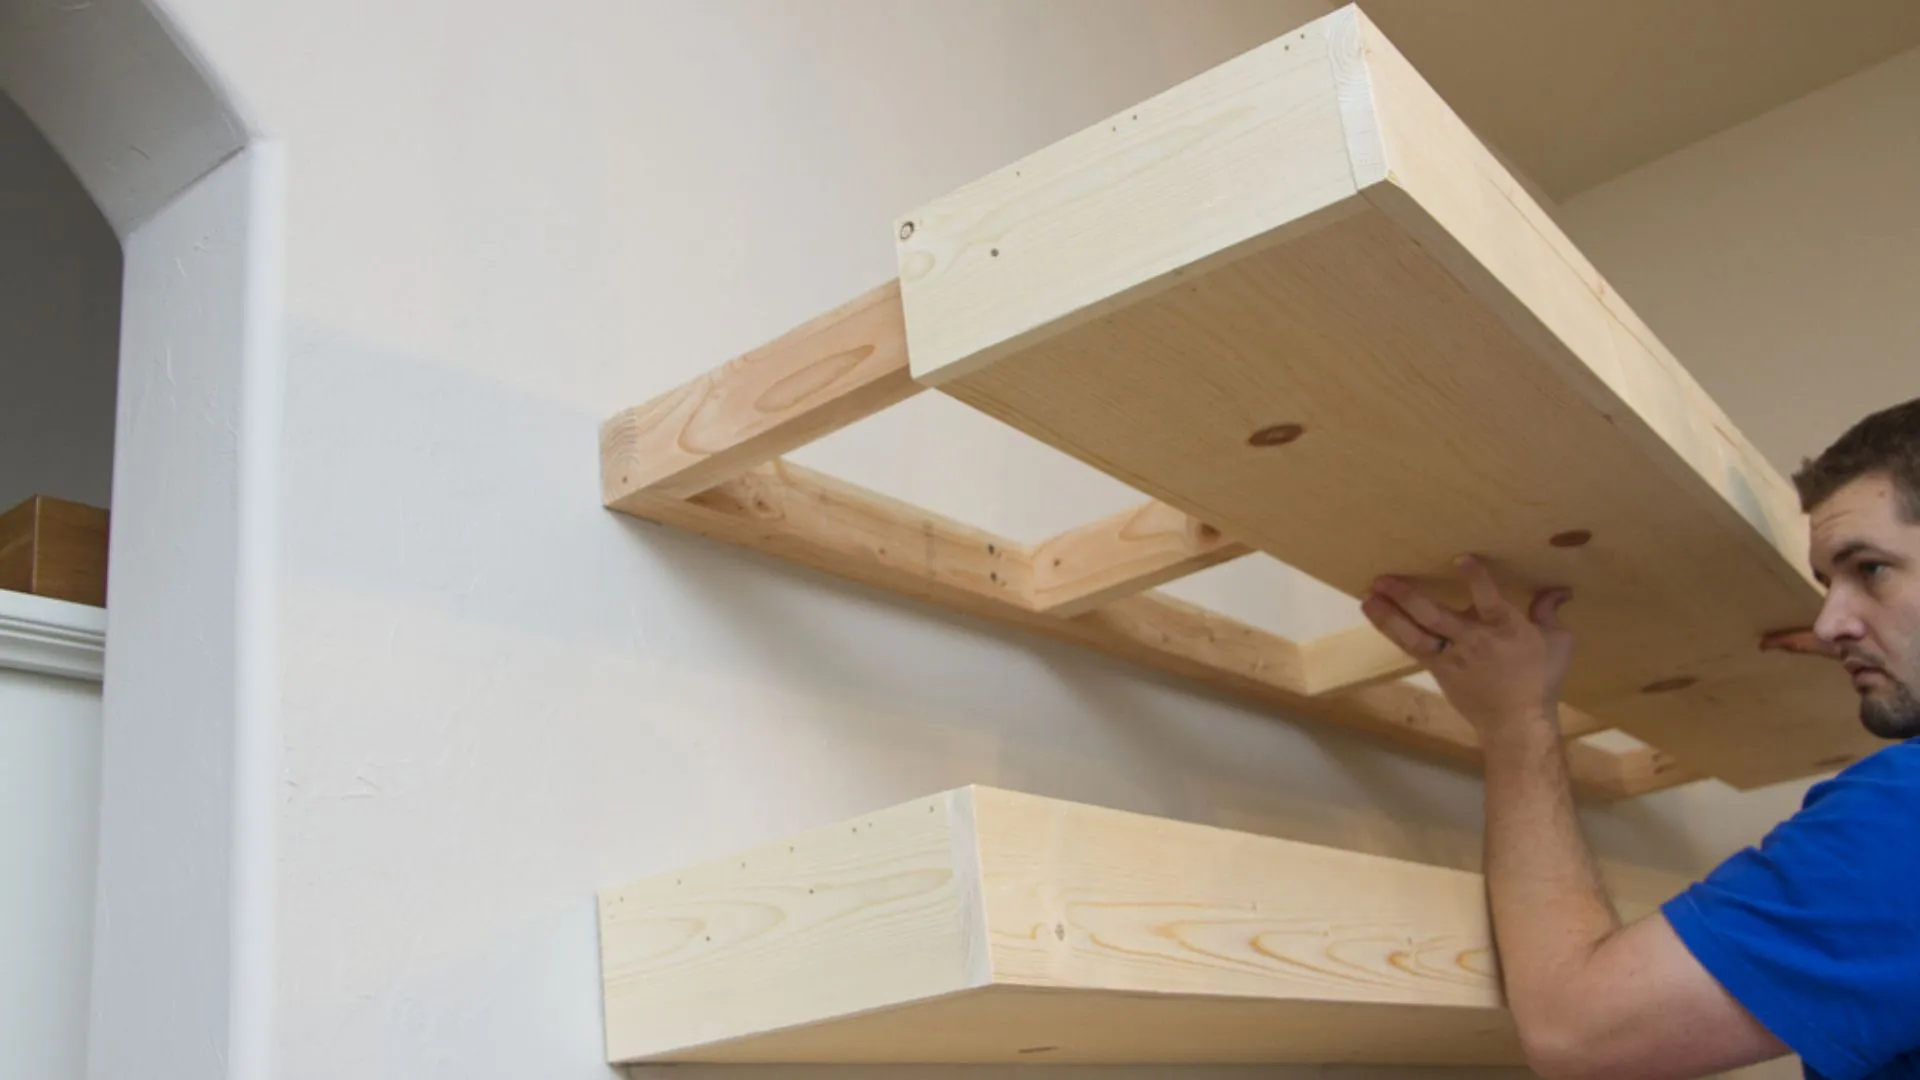
If you do not want to hang plates directly on the wall, put them on a floating shelf. Lean them against the wall or use small stands. This works well for plates you might want to change often. It also means no holes in the plates themselves.
You May Also Like: How To Repurpose A Broken Floor Fan?
Creative Ways to Repurpose Plates
Hanging plates on the wall is just one option. There are other ways to use old plates as decor.
Plate Clock
You can turn a plate into a working clock. You need a clock kit. Drill a small hole in the center of the plate. Attach the clock mechanism according to the instructions. Hang it on the wall. This works best with larger plates that have a design you love. The clock hands should be about half the width of the plate. For a 12-inch plate, use 6-inch hands .
Plate Hooks
Small plates can become wall hooks. Stick a self-adhesive hook in the center of the plate. Then hang the plate on the wall. You can use the hook to hold keys, aprons, or small bags. This works well in a kitchen or entryway. Choose plates with patterns that repurpose old plates into wall decor .
Plate Wreath
Glue several plates together in a circular shape. Add artificial leaves and a ribbon. This makes a unique wall hanging. You can use plates with similar colors or mix different patterns. This is a good way to use plates that are chipped or cracked .
Common Mistakes to Avoid
Do not use heavy plates with weak hangers. Match the hanger to the weight. If a plate feels heavy, use a traditional hanger or multiple adhesive discs.
- Do not skip the planning step. Laying out plates on the floor first saves time and prevents mistakes.
- Do not hang plates in direct sunlight if they are valuable. Sun can fade the colors over time.
- Do not use adhesive on unglazed pottery. The bond will not hold. Check the back of the plate before choosing your method .
- Do not hang plates too high. They should be at eye level or slightly above. You want to see the designs, not just the edges.
- Do not forget to clean the plates first. Dust and grease prevent adhesives from sticking. Wipe the back of the plate with a clean cloth before applying any hanger.
Caring for Your Plate Wall
- Once your plates are up, they need very little care. Dust them gently with a soft cloth. Do not use harsh chemicals.
- If a plate feels loose, take it down and reattach it. Check adhesive discs every few months. This takes only a minute.
- If you want to change the display, remove the plates carefully. Adhesive discs can be removed by soaking the plate in warm water. Command strips pull off easily. Traditional hangers just unclip.
Why This Matters?
There is something special about giving old things a new purpose. A plate that sat unused for years becomes a piece of art. A chipped piece of china that might have been thrown away becomes part of a display.
This project also connects you to the past. Many old plates have stories. They came from a family member. They were bought on a trip. They were part of a set that was used for special occasions. Putting them on the wall keeps those stories alive.
And it makes your home feel more personal. Mass-produced art can look nice, but it does not have the same meaning. A wall of plates from your own collection tells your story. It shows your taste. It shows what matters to you.
Conclusion
Repurposing old plates into wall decor is simple, affordable, and satisfying. You do not need special skills. You do not need expensive tools. You just need some plates, a few supplies, and a little time.
Start with a small arrangement. One or two plates. See how it looks. Then add more as you find pieces you love. Your plate wall can grow over time. It does not have to be perfect on the first day.