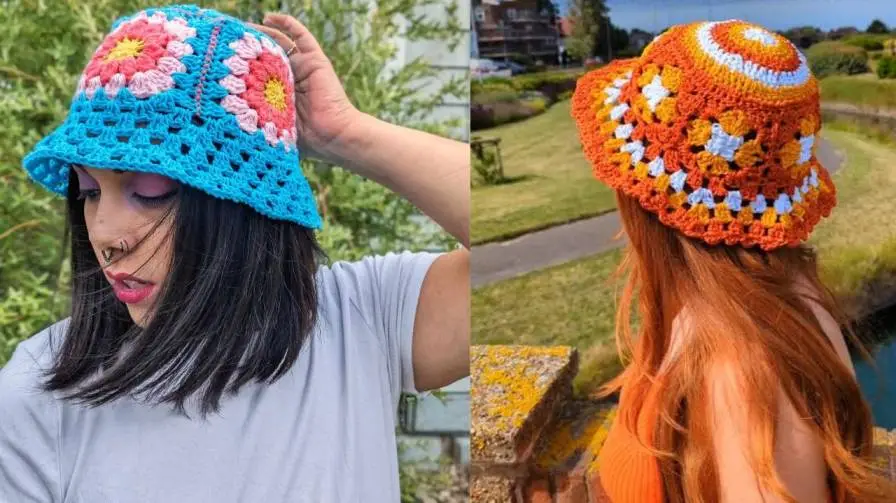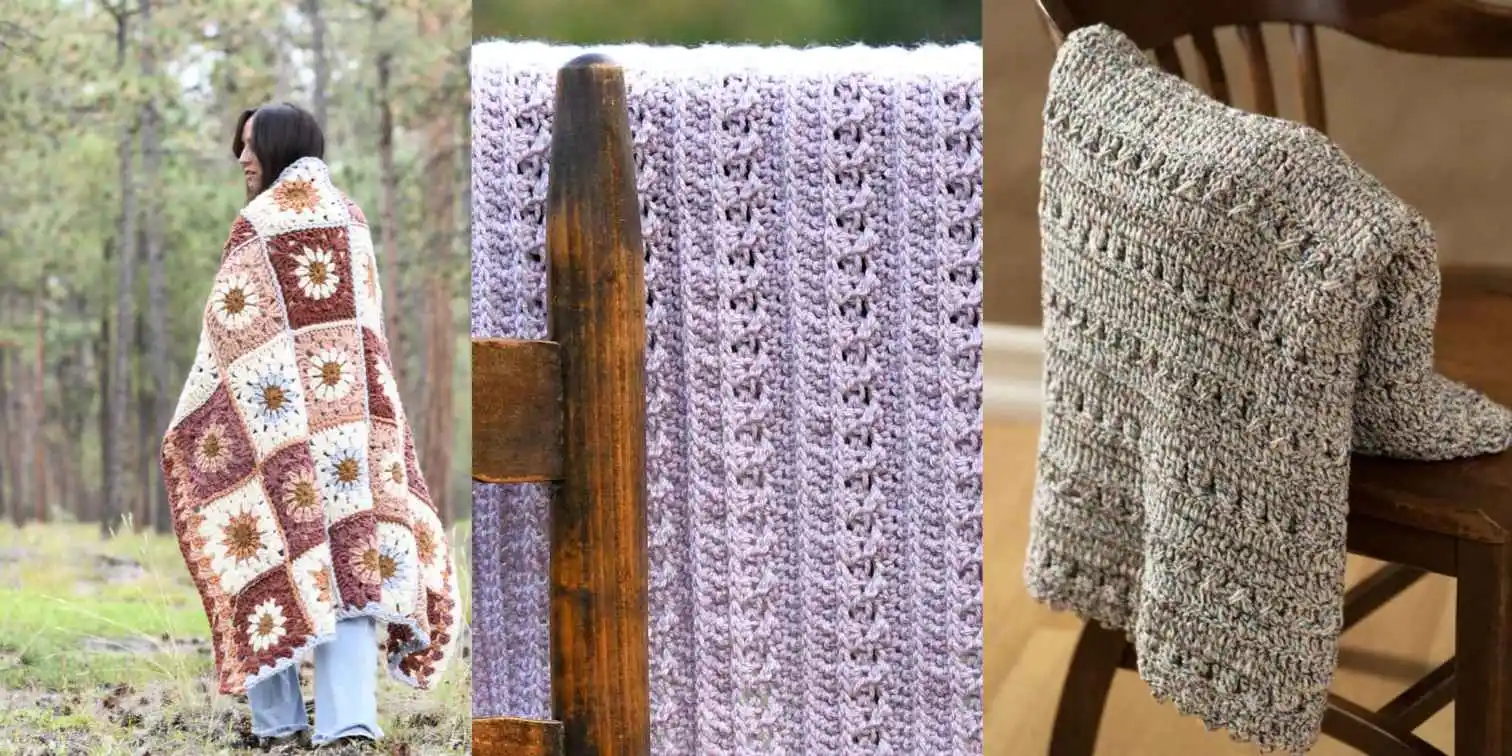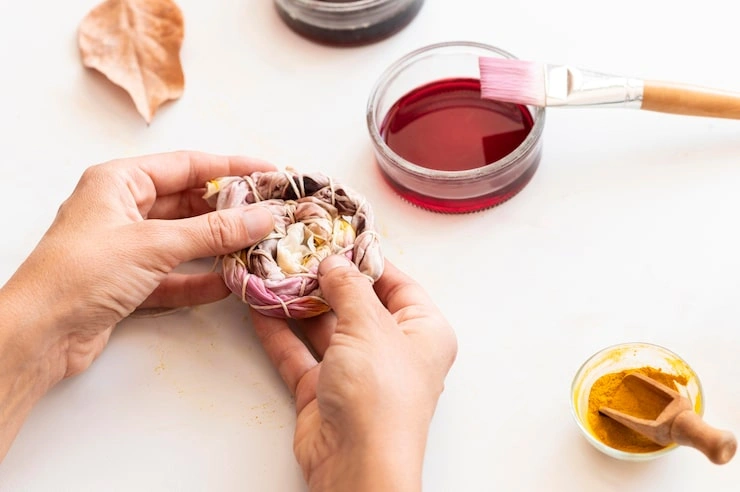
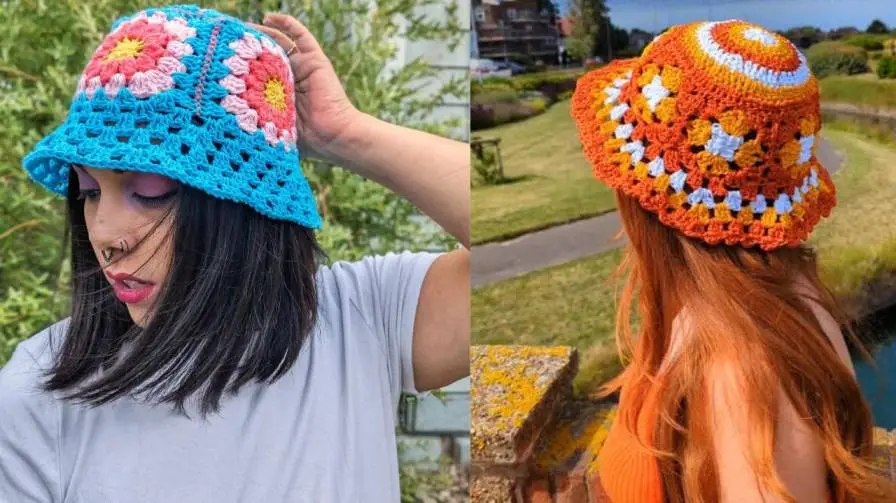
You can upcycle a plain or worn bucket hat by crocheting a new cover directly onto it or by adding a crocheted brim and band using leftover yarn. This project takes about two to four hours and requires only basic crochet skills. The result is a sturdy, one-of-a-kind hat that costs almost nothing because you are reusing materials you already crochet bucket hat upcycle tutorial.
Why Upcycle a Bucket Hat with Crochet?
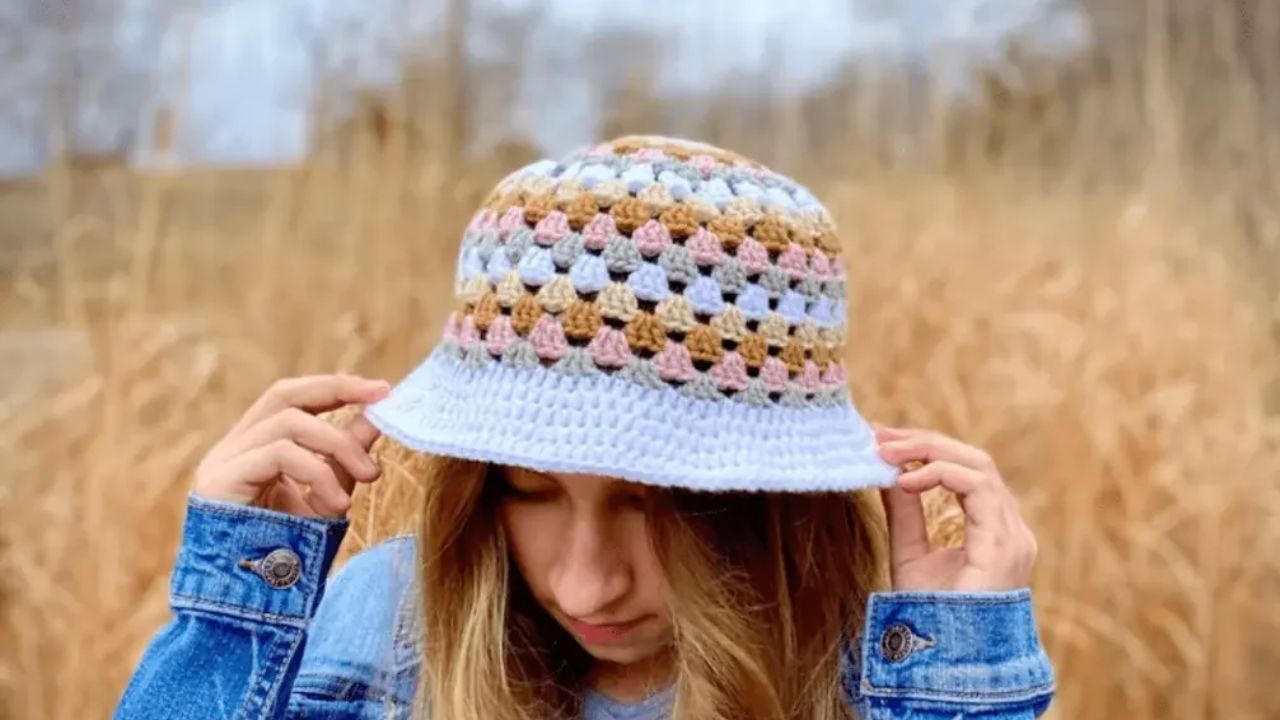
Most people have a bucket hat sitting in the back of a closet. It might be faded, have a small stain, or simply feel boring. Throwing it away adds to textile waste. Buying a new one costs money and uses more resources.
Crochet offers a practical solution. You can wrap the hat in fresh yarn, cover the damaged areas, and turn an old item into something you actually want to wear. This approach saves money and keeps fabric out of landfills. It also gives you full control over color and texture. You are not limited to what a store sells. You use what you already have.
The project works well for crocheters of any skill level. If you can make a chain and a single crochet stitch, you can complete this upcycle. The hat provides the structure. Your yarn provides the style. The two parts work together to create a finished piece that holds its shape better than a soft crochet hat made from scratch.
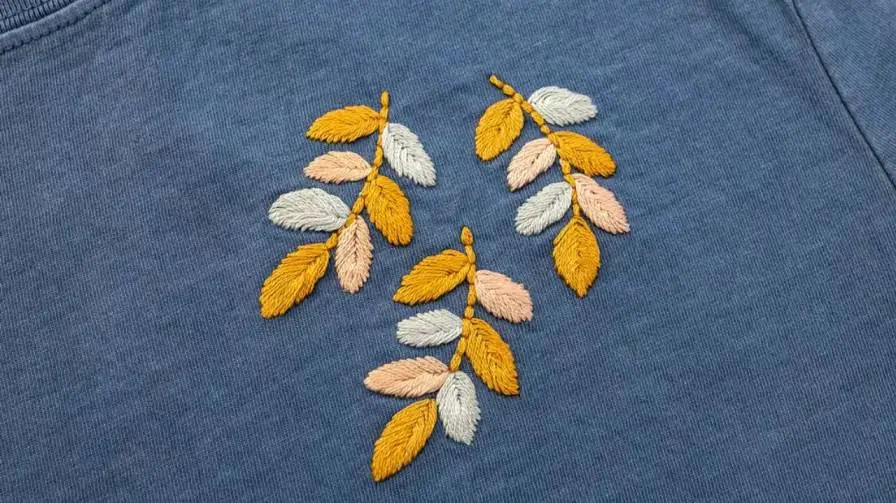
Read Also: Easy Hand Embroidery For Clothes
What You Need Before You Start?
Gather your materials first so you do not have to stop in the middle of the project.
The hat. Any bucket hat works. A fabric hat with a firm brim is easiest because it gives your crochet work a stable base. If the hat has stains, wash and dry it before you begin. If the brim is bent out of shape, iron it flat or reshape it by hand.
Yarn. Leftover yarn from past projects is perfect for this upcycle. Cotton yarn or cotton blends work best because they hold their shape and do not stretch out over time . If your yarn is very thin, hold two strands together to create a thicker fabric. If you have several small balls of yarn in colors that look good together, combine them for a striped effect. This is a smart way to use up scraps that are too small for other projects .
Crochet hook. Choose a hook size that matches your yarn weight. For worsted cotton yarn, a 5 mm hook is a common choice. For thinner yarn held double, a 4.5 mm or 5 mm hook works well. The exact size matters less than your tension. You want the crochet fabric to be tight enough to stay firm against the hat.
Other tools. You need scissors, a tapestry needle for weaving in ends, and stitch markers. A measuring tape helps if you plan to add a brim. A row counter is optional but useful if you tend to lose track of where you are.
Preparing the Hat for Crochet
The first step is making sure the hat is clean and dry. Any dirt or oil on the fabric can affect how your yarn sits and how long the finished piece lasts.
Next, decide where you want the crochet work to go. You have three main options.
Option one: Cover the crown. Work crochet stitches directly into the top portion of the hat. This covers stains or worn areas on the crown and adds texture near the face.
Option two: Wrap the band. Crochet a strip that wraps around the base of the crown, where the hat meets the brim. This is the simplest option and uses the least yarn. It adds a pop of color without changing the hat's overall shape.
Option three: Build a new brim. Crochet a brim extension that attaches to the existing brim edge. This makes the hat wider and more dramatic. It also covers damage along the brim edge.
You can combine options. Many people wrap the band and then add a brim for a complete transformation. Start with one section and add more if you have time and yarn.
If your hat has a lining, check that it is secure. Loose lining fabric can catch on your crochet hook and make the work frustrating. Pin it in place or stitch it down before you begin.
The Basic Crochet Techniques You Will Use
This upcycle does not require advanced stitch work. You need three basic skills.
Single crochet. This is the tightest basic stitch. It creates a firm fabric that holds its shape well. Most of the upcycle work uses single crochet because you want the cover to stay snug against the hat.
Slip stitch. This stitch adds almost no height. Use it to join rounds, create a neat edge, or attach crochet work to the hat fabric. A slip stitch border at the end of a band gives a clean, finished look.
Increasing. To make the crochet piece grow wider, you work two stitches into the same space. This is how you shape a brim or make a cover that follows the curve of the hat. Increasing evenly around a round keeps the piece flat instead of cup-shaped.
If you are new to these stitches, practice on a small swatch before you work on the hat. Ten minutes of practice saves hours of frustration.
Method One: Wrap a Crochet Band Around the Hat
This is the fastest and easiest upcycle. It works well for hats that are structurally sound but visually dull.
Step one: Measure the band area. Use your measuring tape to find the circumference of the hat where the crown meets the brim. Write this number down.
Step two: Start a chain. Make a chain that is slightly shorter than the circumference you measured. The chain should stretch just enough to meet around the hat without being loose. Join the last chain to the first with a slip stitch to form a ring.
Step three: Work in rounds. Chain one, then work single crochet into each chain around. Join with a slip stitch to the first single crochet. Repeat this round until the band is as wide as you want. Three to five rounds makes a nice visible band.
Step four: Test the fit. Slide the band over the hat. It should hug the crown snugly. If it is too loose, remove a round or switch to a smaller hook. If it is too tight, add a round with a few increases.
Step five: Attach the band. You have two choices. You can sew the band to the hat using a tapestry needle and matching thread, stitching around the top and bottom edges. Or you can crochet the band directly onto the hat by working slip stitches through the fabric. Sewing is more secure. Crocheting is faster. Both work.
Step six: Finish the edge. Work one round of slip stitch around the top and bottom edges of the band. This creates a crisp line and prevents the band from curling.
You May Also Like: Best Stylish Walking Shoes for Europe
Method Two: Cover the Crown with Crochet
This method hides stains on the top of the hat and gives the crown a handmade texture. It uses more yarn than the band method.
Step one: Find your starting point. The crown of a bucket hat is usually a flat or slightly rounded circle on top. You will work from the center outward, just like making a flat crochet circle.
Step two: Create a center ring. Make a magic ring, or chain four and join with a slip stitch to form a loop. Work six single crochet into the center of the ring. Join with a slip stitch.
Step three: Increase each round. For round two, work two single crochet into each stitch around. You now have twelve stitches. For round three, work one single crochet, then two single crochet in the next stitch. Repeat this pattern around. Continue adding one more single crochet between increases in each round. This is the standard way to make a flat circle .
Step four: Stop increasing when the circle matches the crown. Place your crochet circle on top of the hat. When it covers the flat top portion of the crown, stop increasing. The next rounds will grow downward instead of crochet bucket hat upcycle tutorial.
Step five: Work even rounds. Single crochet into each stitch around without increasing. This makes the crochet fabric curve down over the sides of the crown. Continue until the cover reaches the band area of the hat.
Step six: Attach the cover. Sew the bottom edge of the crochet cover to the hat using a tapestry needle. Stitch all the way around, catching the hat fabric and the crochet edge. Keep your stitches small and even so the attachment line looks intentional.
If you want to skip the sewing, you can work a final round of slip stitches directly through the hat fabric. This is faster but requires you to push the hook through the hat material, which can be tough on thick fabric.
Method Three: Add a Crocheted Brim Extension
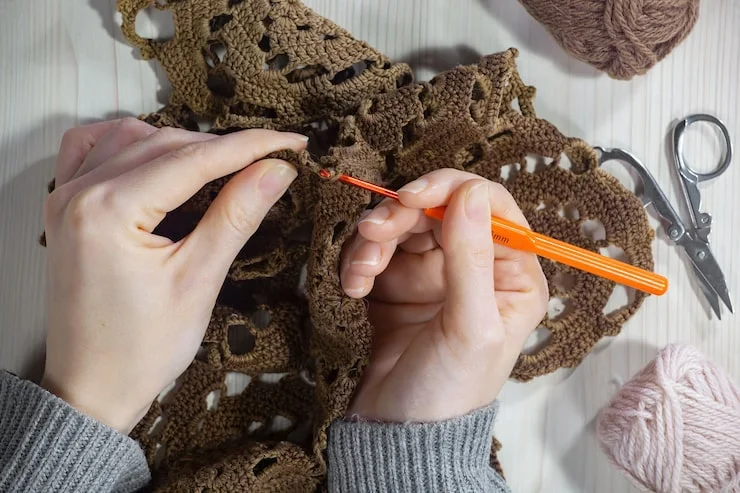
A crocheted brim changes the silhouette of the hat. It makes a small bucket hat look wider and more dramatic. It also covers fraying or stains along the existing brim edge.
Step one: Identify the brim edge. Turn the hat upside down. The brim edge is the outermost rim. You will attach your yarn to this edge.
Step two: Join yarn to the edge. Make a slip knot and place it on your hook. Insert the hook through the hat fabric near the brim edge. Pull a loop through and work a slip stitch to secure the yarn. Work single crochet stitches all the way around the brim edge, inserting your hook through the fabric. Space the stitches evenly. This first round creates your foundation.
Step three: Build the brim. Work single crochet in each stitch around. To make the brim flare outward, add increases every few stitches. For a gentle flare, increase once every six to eight stitches. For a wider brim, increase more often. The brim should grow gradually. A sudden jump in stitch count creates a ruffled edge instead of a smooth brim.
Step four: Decide on brim width. A narrow extension of one to two inches adds a subtle change. A wide brim of three to four inches creates a sun hat look. Work as many rounds as you need to reach your desired width.
Step five: Add structure if needed. Cotton yarn holds shape well on its own. If your brim feels floppy, work the final round with a tighter tension or switch to a smaller hook. Some crocheters run a thin wire or nylon thread along the final round for extra stability. This is optional. Most cotton brims hold up fine without it .
Step six: Finish the edge. Work one round of slip stitch along the outer edge of the brim. This creates a firm, clean line that helps the brim keep its shape.
Making the Upcycle Look Intentional
An upcycled hat can look messy or polished. The difference comes down to a few details.
Match your colors. Two or three colors work best. Choose one main color and one accent color. Use the main color for most of the work and the accent for edges or stripes. If you use too many colors, the hat looks chaotic instead of creative.
Keep your tension even. The crochet fabric should be tight and consistent. Loose stitches look sloppy and stretch out over time. If your stitches vary in size, practice on a swatch until your hand finds a steady rhythm.
Hide your ends. Weave in every yarn tail securely on the inside of the hat. Do not leave loose ends hanging. They will work their way out with wear. Use a tapestry needle to thread each end through several stitches in different directions before trimming.
Block the finished hat. Lightly mist the crochet portions with water and reshape the hat by hand. Let it dry on a round object like a bowl or a mannequin head. This helps the crochet settle into its final shape and smooths out any uneven edges .
Common Problems and How to Fix Them
The crochet band is too loose. This happens when your starting chain is too long. Remove the band and start again with fewer chains. The band should stretch slightly to fit over the hat, not slide around.
The crown cover buckles. Buckling means you have too many stitches. The crochet circle is wider than the hat crown. Remove a few rounds of increases or switch to a smaller hook.
The brim curls upward. Curling happens when the brim does not have enough stitches. Add another round with more increases. If the curl is severe, you may need to undo the last two rounds and add increases earlier.
The yarn will not stay tight against the hat. This usually means your hook is too large for the yarn. Switch to a smaller hook. A tighter fabric grips the hat better and holds its shape longer.
The colors look wrong together. It is hard to judge color combinations until the work is large enough to see. If you are unsure, lay your yarn balls next to each other in daylight. If they look good together as balls, they will look good in the hat. If you are still unsure, use one color for the whole project and add contrast only at the edges.
Caring for Your Upcycled Hat
An upcycled hat combines two materials: the original hat fabric and your crochet yarn. Care depends on both.
If your yarn is cotton and the hat is machine washable, hand wash the hat in cool water with a mild detergent. Gently squeeze the water through the fabric. Do not wring or twist, which can distort the crochet shape. Rinse well and press the water out with a towel.
Lay the hat flat to dry. Place a small towel or a round object inside the crown to help it keep its shape as it dries . Keep the hat out of direct sunlight, which can fade both the yarn and the original fabric.
If the hat has a structured brim that cannot get wet, spot clean the crochet portions with a damp cloth and let them air dry. Avoid soaking the entire hat.
Store the hat on a shelf or a hook. Do not crush it under other items. The crochet work can flatten if pressed, and reshaping a flattened brim takes time.
Final Thoughts
Upcycling a bucket hat with crochet is a small project with a clear result. You take something you already own, add yarn you already have, and end up with a hat that looks new. The process teaches you how crochet can attach to fabric, how to shape a brim, and how to use leftover materials in a useful way.
Start with the band method if you are new to crochet. It takes an hour or less and gives you a feel for how the yarn behaves against the hat. Once you are comfortable, move to a crown cover or a brim extension. Each method builds on the same basic skills.